crwdns2935425:05crwdne2935425:0
crwdns2931653:05crwdne2931653:0


-
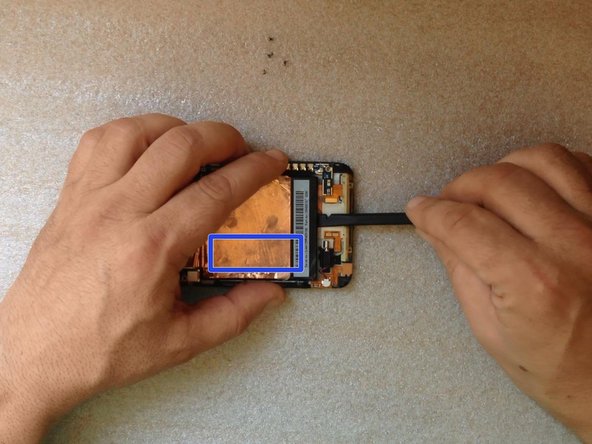
Disconnect one by one:
-
the Touchscreen flex cable
-
the Volume buttons & Mic flex cable
-
the Dock connector flex cable
-
Carefully insert a plastic tool under the battery to pry it up from the adhesive. Avoid bending the battery.
-
Now you can separate the Dock flex cable.
crwdns2944171:0crwdnd2944171:0crwdnd2944171:0crwdnd2944171:0crwdne2944171:0