crwdns2935425:01crwdne2935425:0
crwdns2931653:01crwdne2931653:0

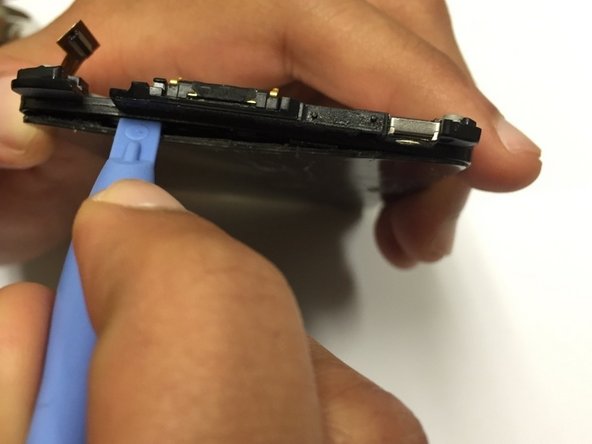


Disconnecting the digitizer and screen
-
You must now disconnect the screen and digitzer, which are glued together.
-
Using a plastic opening tool, slip the tool between the screen and the digitizer and slowly pry them apart.
-
After this is complete, orient your new screen in the same manner as the old one, attach it to the digitizer with a strong adhesive, and reassemble.
crwdns2944171:0crwdnd2944171:0crwdnd2944171:0crwdnd2944171:0crwdne2944171:0