crwdns2933423:0crwdne2933423:0

Démontage de base du Nokia Lumia 822

crwdns2936315:0crwdne2936315:0
crwdns2936317:0crwdne2936317:0
crwdns2931653:07crwdne2931653:0
Nokia Lumia 822 Basic Disassembly: crwdns2935265:00crwdnd2935265:01crwdnd2935265:03crwdne2935265:0 Nokia Lumia 822 Basic Disassembly: crwdns2935265:00crwdnd2935265:02crwdnd2935265:03crwdne2935265:0 Nokia Lumia 822 Basic Disassembly: crwdns2935265:00crwdnd2935265:03crwdnd2935265:03crwdne2935265:0
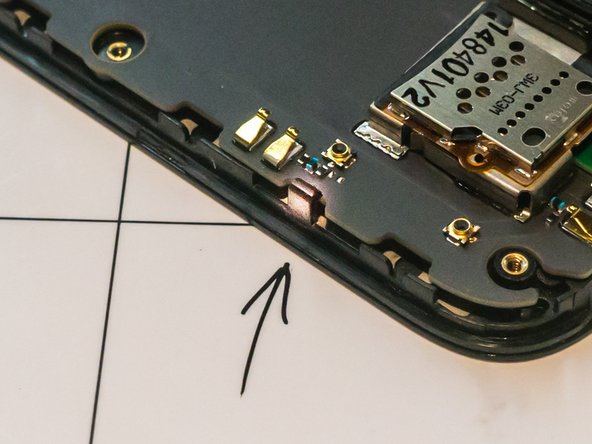
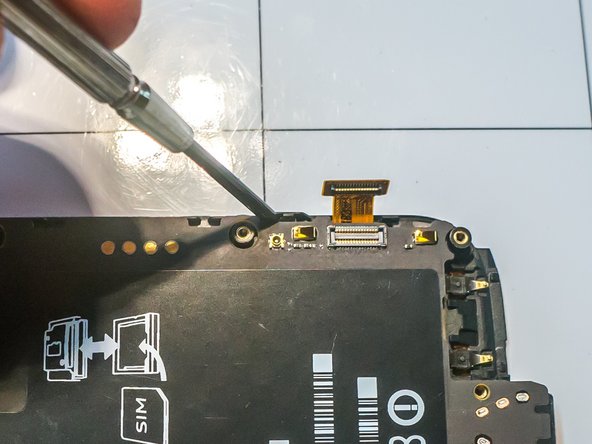
  • There are four small plastic clips that hold the logic board to the screen assembly. Using a small flat screwdriver, carefully pull back clips # 1 and 2, (see photo) and free the logic board on that side.

  • The plastic clips break easily if bent back too far.

Il y a quatre petits clips en plastique qui maintiennent la carte mère à l'écran. A l'aide d'un petit tournevis plat, retirez délicatement les clips n°1 et 2, (voir photo) et dégagez la carte mère de ce côté.

Les clips en plastique se cassent facilement s'ils sont trop repliés.

crwdns2944171:0crwdnd2944171:0crwdnd2944171:0crwdnd2944171:0crwdne2944171:0