crwdns2933423:0crwdne2933423:0

Cómo actualizar tu MacBook Unibody de 13" de aluminio de 2,0 GHz a un teclado retroiluminado

crwdns2936315:0crwdne2936315:0
crwdns2936331:0crwdne2936331:0
crwdns2931653:05crwdne2931653:0
Upgrading your 2.0 GHz 13" Aluminum Unibody MacBook to a Backlit Keyboard: crwdns2935265:00crwdnd2935265:01crwdnd2935265:02crwdne2935265:0 Upgrading your 2.0 GHz 13" Aluminum Unibody MacBook to a Backlit Keyboard: crwdns2935265:00crwdnd2935265:02crwdnd2935265:02crwdne2935265:0
  • Now that you can see the back of the individual keys, stop there.

  • You now need to unscrew the 2 small, black Philips screws from the back of the power button assembly. Failing to do this will tear the the power button's ribbon cable when you try to remove the keyboard.

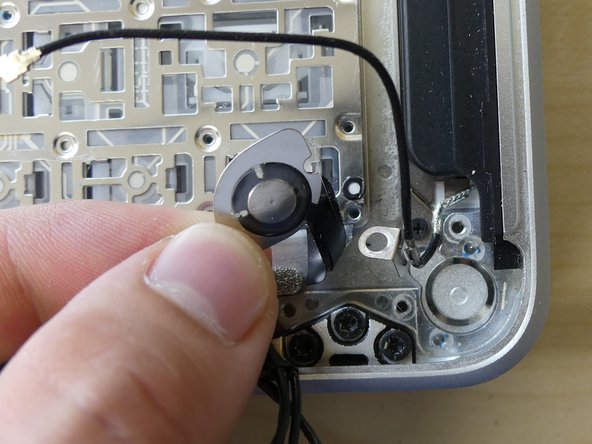
  • After you do this, remove the power button by pressing on the power button from the top of the upper case. The power button and a small metal ring (spring) will come out.

Ahora que puedes ver la parte posterior de las teclas individuales, detente allí.

Ahora debe desatornillar los dos pequeños tornillos negros Philips de la parte posterior del conjunto del botón de encendido. Si no lo hace, el cable plano del botón de encendido se romperá al intentar retirar el teclado.

Después de esto, retire el botón de encendido presionando el botón de encendido desde la parte superior de la carcasa. Saldrán el botón de encendido y un pequeño anillo metálico (resorte).

crwdns2944171:0crwdnd2944171:0crwdnd2944171:0crwdnd2944171:0crwdne2944171:0