crwdns2931529:0crwdnd2931529:0crwdnd2931529:0crwdnd2931529:06crwdnd2931529:0crwdne2931529:0
crwdns2935425:08crwdne2935425:0
crwdns2931653:08crwdne2931653:0


-
This should come apart with relative ease; however, a plastic pryer tool may help remove the panel if it is struggling to come apart.
| - | [* icon_ |
|---|---|
| - | [* black] This should come apart with relative ease |
| - | [* icon_caution] |
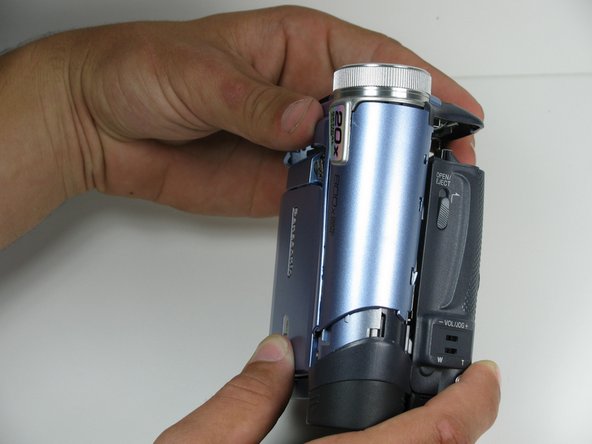
| + | [* icon_note] Carefully detatch the front cover from the body of the camcorder. |
| + | [* black] This should come apart with relative ease; however, a plastic pryer tool may help remove the panel if it is struggling to come apart. |
| + | [* icon_caution] Be careful as there is a ribbon cable attached to the front panel and the camcorder body, DO NOT tug at it when you remove this panel. |
crwdns2944171:0crwdnd2944171:0crwdnd2944171:0crwdnd2944171:0crwdne2944171:0