crwdns2931529:0crwdnd2931529:0crwdnd2931529:0crwdnd2931529:02crwdnd2931529:0crwdne2931529:0
crwdns2935425:08crwdne2935425:0
crwdns2931653:08crwdne2931653:0


-
Insert the flat end of a spudger into the thin crack running along the side of the laptop. Gently pry open along the perimeter of the laptop to remove the base.
-
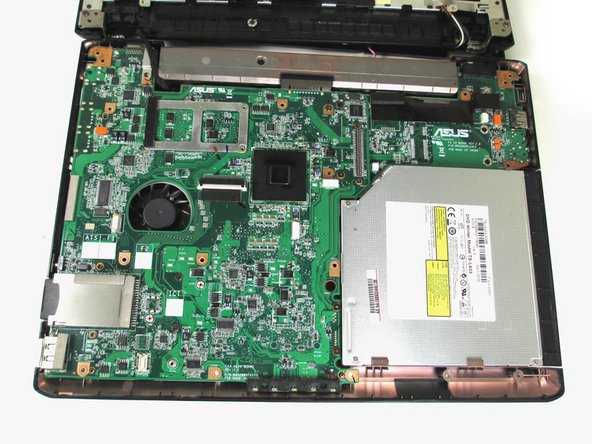
After completely prying the two bases from each other, set the top base flat against the back panel, revealing the circuit board.
crwdns2944171:0crwdnd2944171:0crwdnd2944171:0crwdnd2944171:0crwdne2944171:0