crwdns2933423:0crwdne2933423:0

iPad Wi-Fi ディスプレイフレームの交換

crwdns2936315:0crwdne2936315:0
crwdns2936323:0crwdne2936323:0
crwdns2931653:08crwdne2931653:0
iPad Wi-Fi Display Frame Replacement: crwdns2935265:00crwdnd2935265:01crwdnd2935265:02crwdne2935265:0 iPad Wi-Fi Display Frame Replacement: crwdns2935265:00crwdnd2935265:02crwdnd2935265:02crwdne2935265:0
  • In this step, you will heat and remove the plastic frame near the digitizer cable. Do not directly heat this ribbon cable, as it is extremely thin and sensitive to heat.

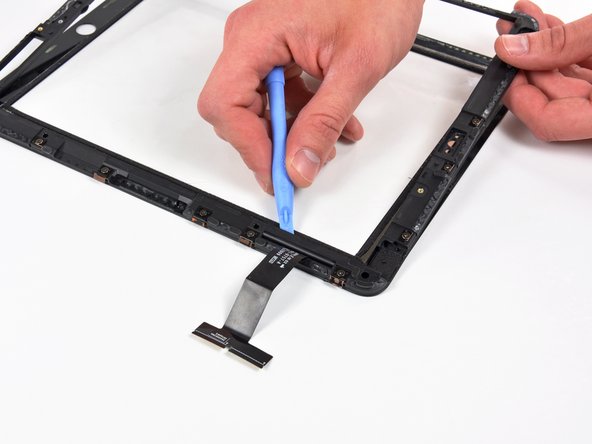
  • Use a heat gun to soften the adhesive next to both sides of the digitizer cable, being careful not to melt the cable.

  • Pry the final section of the plastic display frame away from the front glass.

この手順では、デジタイザケーブル付近のプラスチックフレームを加熱して取り外します。このリボンケーブルは非常に細く、熱に弱いため、直接加熱しないでください。

ケーブルを溶かさないように注意しながら、ヒートガンでデジタイザーケーブルの両側の接着剤を柔らかくします。

プラスチック製ディスプレイフレームの最後の部分をフロントガラスからこじ開けます。

crwdns2944171:0crwdnd2944171:0crwdnd2944171:0crwdnd2944171:0crwdne2944171:0