crwdns2933423:0crwdne2933423:0

Poser un bouton-pression en plastique à l’aide d’une presse manuelle

crwdns2936315:0crwdne2936315:0
crwdns2936317:0crwdne2936317:0
crwdns2931653:06crwdne2931653:0
Plastic Snap Installation Using a Hand Press, Prepare the snap dies: crwdns2935265:00crwdnd2935265:01crwdnd2935265:03crwdne2935265:0 Plastic Snap Installation Using a Hand Press, Prepare the snap dies: crwdns2935265:00crwdnd2935265:02crwdnd2935265:03crwdne2935265:0 Plastic Snap Installation Using a Hand Press, Prepare the snap dies: crwdns2935265:00crwdnd2935265:03crwdnd2935265:03crwdne2935265:0
Prepare the snap dies
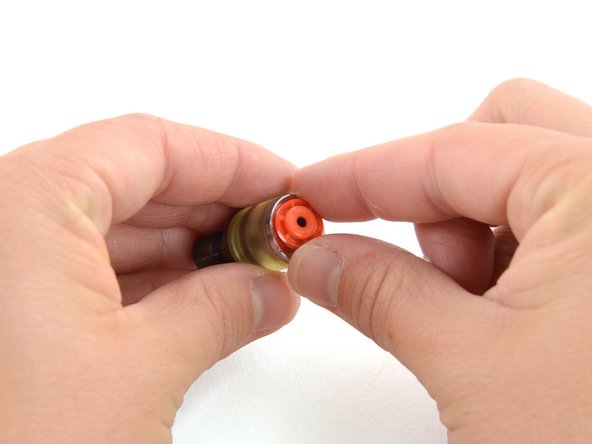
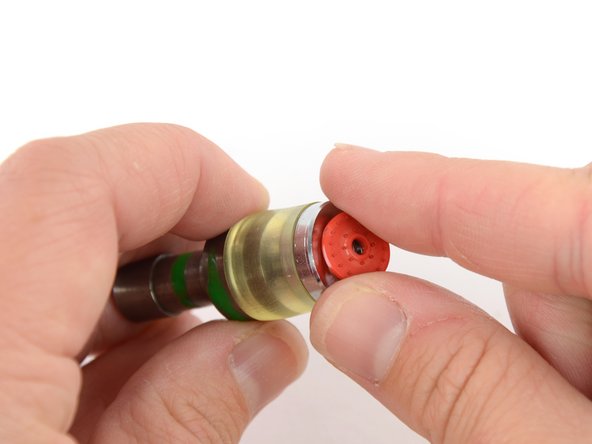
  • Place the cap die into the lower fitting of the hand press and drop the cap piece into the die, flat side down, so the plastic post is sticking upward.

  • Click the socket or stud piece into the corresponding die.

  • Patagonia Repair Tech Tip: The socket and stud dies look like the opposing snap so that the plastic piece will click right in.

Placez la matrice de la calotte sur la mâchoire inférieure de la presse manuelle et déposez la calotte dans la matrice, côté plat vers le bas, de manière à ce que la tige en plastique soit orientée vers le haut.

Insérez l’attache mâle ou femelle dans la matrice correspondante.

Astuce technique de réparation Patagonia : Les matrices des attaches femelle et mâle ressemblent à l’attache opposée, de sorte que la bonne attache s'enclenche facilement.

crwdns2944171:0crwdnd2944171:0crwdnd2944171:0crwdnd2944171:0crwdne2944171:0