crwdns2935425:06crwdne2935425:0


-
You may wish to (carefully) test it prior to closing everything up. Just carefully plug it in to the device and to the AC outlet (smoke test), and see if your device operates as expected. If it does, continue with the reassembly. If not, open things up and troubleshoot.
-
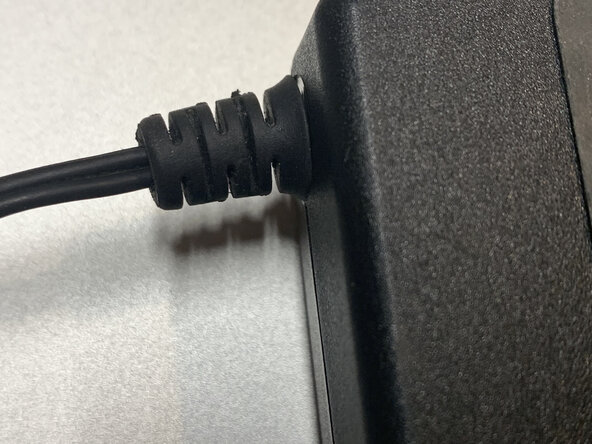
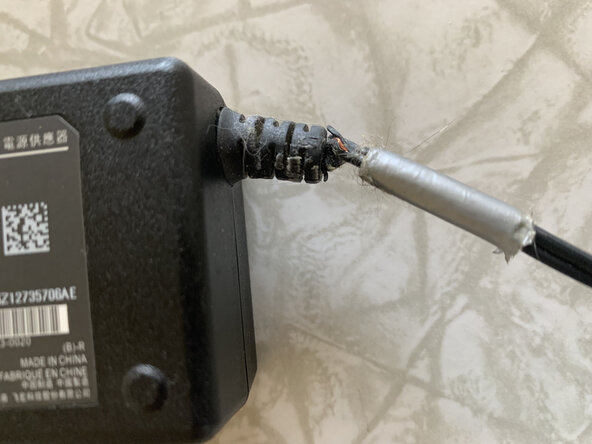
Orient the PC board back into the case. The component side of the PC board should be facing the yellow pad. The stress relief collar goes into the small hole at one end of the case. The AC cord socket goes on the end with the large rectangular hole.
-
Once you are confident that things are oriented correctly and working properly, you may glue the plastic power brick case closed. If you promise to be careful, you can instead hold the power brick case closed with tape or some sturdy rubber bands.
-
We're done!
crwdns2944171:0crwdnd2944171:0crwdnd2944171:0crwdnd2944171:0crwdne2944171:0