crwdns2935425:03crwdne2935425:0


-
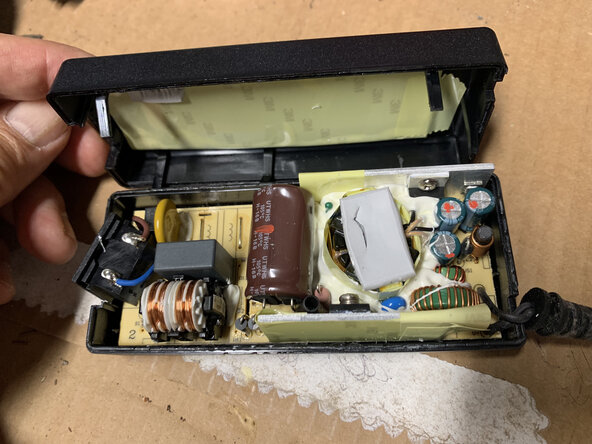
Cracking the case open was the hardest step, but you can still mess up if you aren't careful. Next you need to carefully separate the two case halves. Sometimes you can pry with a large screwdriver, taking care not to scar the plastic. In other cases, keep flexing the case inside the bench vise until you can separate the halves by hand.
-
Note carefully the orientation of the circuit board inside the case. In this case the circuit board only fits in one orientation, but in others it might not be clear. Take photos as you go along, to help with later reassembly.
-
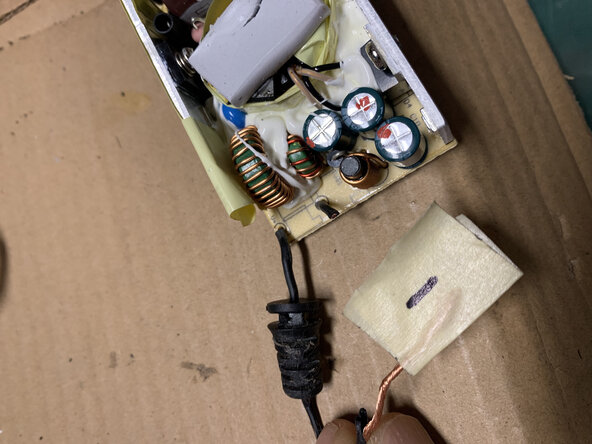
The circuit board simply lifts out of the case. In other designs you may need to pop some plastic latches or remove some screws to free the circuit board.
crwdns2944171:0crwdnd2944171:0crwdnd2944171:0crwdnd2944171:0crwdne2944171:0