crwdns2933423:0crwdne2933423:0

Acer Chromebook CB315-4H-P8FZ I/O Board Replacement

crwdns2935425:02crwdne2935425:0

crwdns2936315:0crwdne2936315:0
crwdns2936323:0crwdne2936323:0
crwdns2931653:02crwdne2931653:0
Acer Chromebook CB315-4H-P8FZ I/O Board Replacement: crwdns2935265:00crwdnd2935265:01crwdnd2935265:03crwdne2935265:0 Acer Chromebook CB315-4H-P8FZ I/O Board Replacement: crwdns2935265:00crwdnd2935265:02crwdnd2935265:03crwdne2935265:0 Acer Chromebook CB315-4H-P8FZ I/O Board Replacement: crwdns2935265:00crwdnd2935265:03crwdnd2935265:03crwdne2935265:0
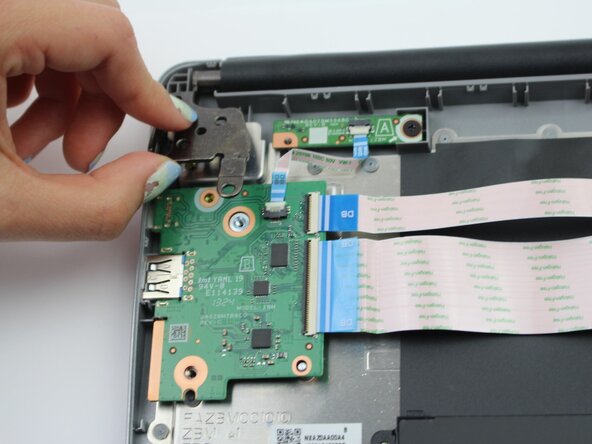
  • Place the new USB-C I/O board into position on the motherboard. (Time: 30 seconds)

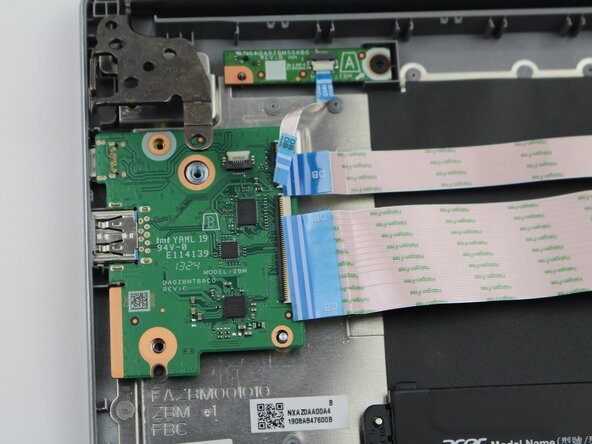
  • Reconnect all cables to the new I/O board by gently pressing them into their ports. (Time: 1–2 minutes)

  • Secure the I/O board with screws using a #1 Phillips screwdriver. (Time: 1–2 minutes)

  • Align and place the back cover onto the Chromebook to prepare for reassembly. (Time: 30 seconds)

  • Power on the Chromebook by pressing the power button. (Time: 30 seconds)

  • Plug a device into the new USB-C port to test for proper functionality. (Time: 1 minute)

crwdns2935429:0crwdne2935429:0

crwdns2935429:0crwdne2935429:0

crwdns2935429:0crwdne2935429:0

crwdns2935429:0crwdne2935429:0

crwdns2935429:0crwdne2935429:0

crwdns2935429:0crwdne2935429:0

crwdns2944171:0crwdnd2944171:0crwdnd2944171:0crwdnd2944171:0crwdne2944171:0