crwdns2933423:0crwdne2933423:0

Acer Aspire 3 A315-24PT-R288 koellichaam vervangen

crwdns2935425:01crwdne2935425:0

crwdns2936315:0crwdne2936315:0
crwdns2936313:0crwdne2936313:0
crwdns2931653:01crwdne2931653:0
Acer Aspire 3 A315-24PT-R288 Heat Sink Replacement: crwdns2935265:00crwdnd2935265:01crwdnd2935265:03crwdne2935265:0 Acer Aspire 3 A315-24PT-R288 Heat Sink Replacement: crwdns2935265:00crwdnd2935265:02crwdnd2935265:03crwdne2935265:0 Acer Aspire 3 A315-24PT-R288 Heat Sink Replacement: crwdns2935265:00crwdnd2935265:03crwdnd2935265:03crwdne2935265:0
  • Despite the images, it's not necessary to remove the fan prior to removing the heat sink.

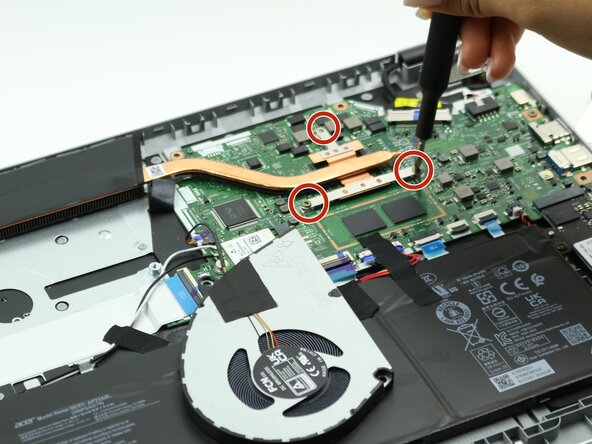
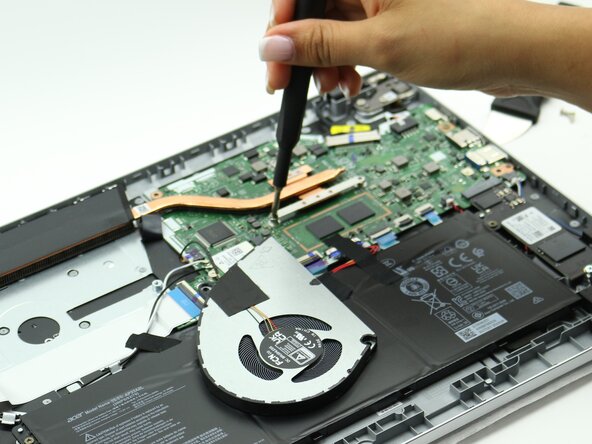
  • Remove the three 2mm Phillips #1 screws from the heat sink.

  • When installing your new heat sink, be sure to fasten the screws in the numerical order stamped on the heatsink bracket.

Ondanks de afbeeldingen is het niet noodzakelijk om de ventilator te verwijderen voordat je het koellichaam verwijdert.

Verwijder de drie 2 mm Phillips #1-schroeven uit het koellichaam.

Wanneer je een nieuwe koellichaam monteert, zorg er dan voor dat je de schroeven vastdraait in de numerieke volgorde die op de beugel van het koellichaam staat aangegeven.

crwdns2944171:0crwdnd2944171:0crwdnd2944171:0crwdnd2944171:0crwdne2944171:0