crwdns2933423:0crwdne2933423:0

Sony ULT WEAR I/O Board Replacement

crwdns2935425:01crwdne2935425:0

crwdns2936315:0crwdne2936315:0
crwdns2936323:0crwdne2936323:0
crwdns2931653:01crwdne2931653:0
Sony ULT WEAR I/O Board Replacement: crwdns2935265:00crwdnd2935265:01crwdnd2935265:03crwdne2935265:0 Sony ULT WEAR I/O Board Replacement: crwdns2935265:00crwdnd2935265:02crwdnd2935265:03crwdne2935265:0 Sony ULT WEAR I/O Board Replacement: crwdns2935265:00crwdnd2935265:03crwdnd2935265:03crwdne2935265:0
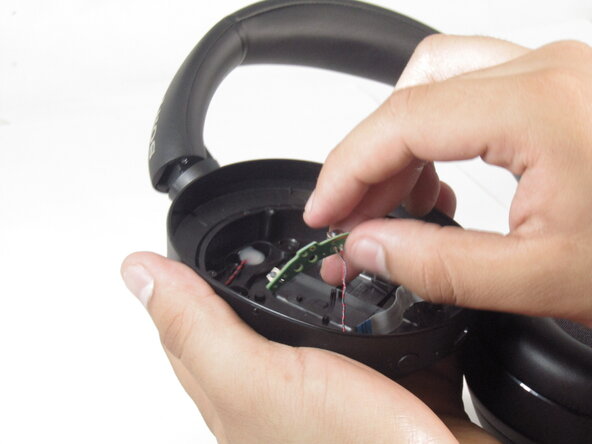
  • Flip the can so that the back of the PCB is visible.

  • Disconnect the white ribbon cable.

  • Remove the PCB from the housing.

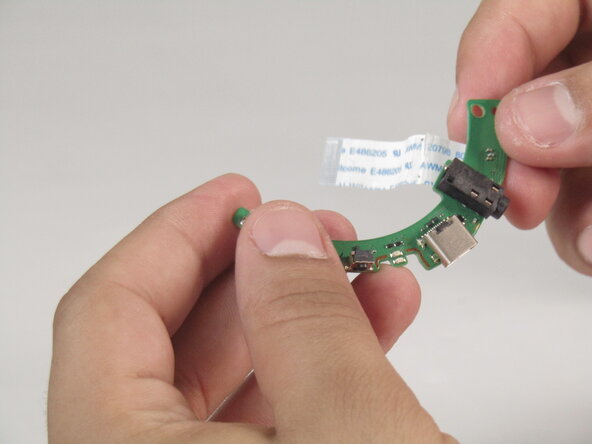
  • There is a secondary board soldered to the PCB. Detach this board by carefully pulling it off with your fingers.

  • Lift and pull the PCB to remove it carefully, while making sure not to damage the ribbon cable.

  • The secondary PCB needs to be re-soldered.

crwdns2935429:0crwdne2935429:0

crwdns2935429:0crwdne2935429:0

crwdns2935429:0crwdne2935429:0

crwdns2935429:0crwdne2935429:0

crwdns2935429:0crwdne2935429:0

crwdns2935429:0crwdne2935429:0

crwdns2944171:0crwdnd2944171:0crwdnd2944171:0crwdnd2944171:0crwdne2944171:0