crwdns2931529:0crwdnd2931529:0crwdnd2931529:0crwdnd2931529:010crwdnd2931529:0crwdne2931529:0
crwdns2935425:01crwdne2935425:0
crwdns2931653:01crwdne2931653:0


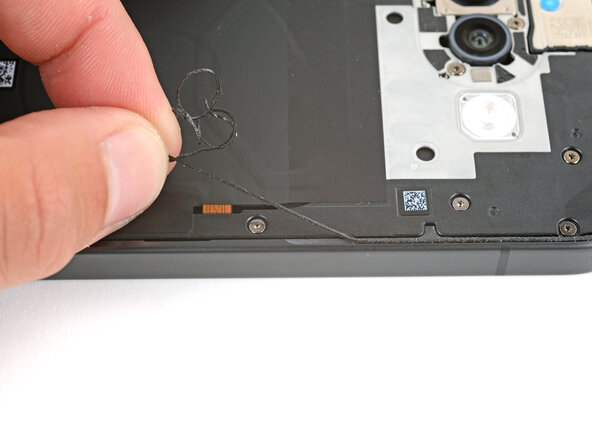


Remove the old rear cover adhesive
-
Use a spudger and tweezers to scrape up and remove all the old rear cover adhesive from the perimeter of your phone.
crwdns2944171:0crwdnd2944171:0crwdnd2944171:0crwdnd2944171:0crwdne2944171:0