crwdns2915892:0crwdne2915892:0
This guide shows how to install the rear cover adhesive on your Google Pixel 9a smartphone. Note that there are a combination of adhesive installation guides that need to be included before—and after—this guide, depending on the repair.
-
-
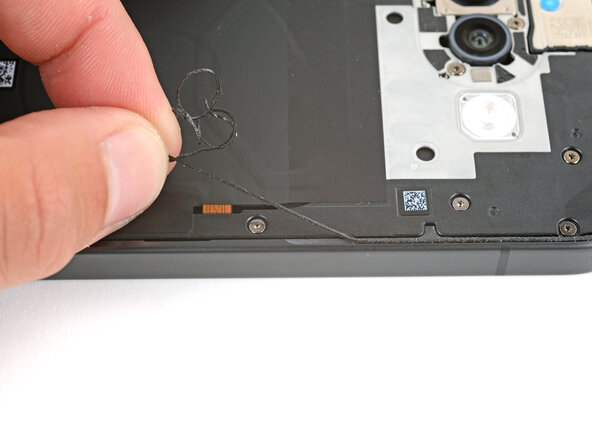
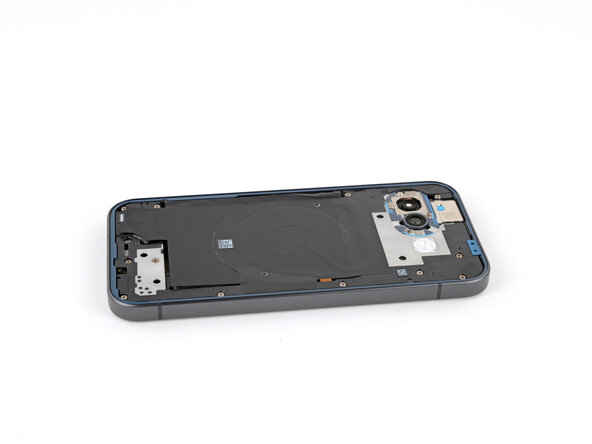
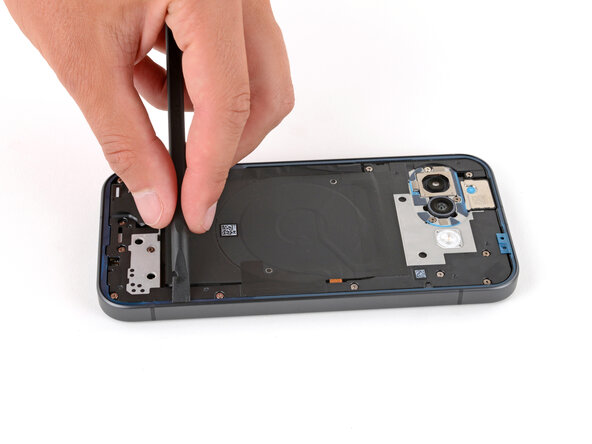
Use a spudger and tweezers to scrape up and remove all the old rear cover adhesive from the perimeter of your phone.
-
-
-
Using some high-concentration (>90%) isopropyl alcohol and a lint‑free cloth (or coffee filter), clean the areas of the frame where the adhesive was.
-
-
-
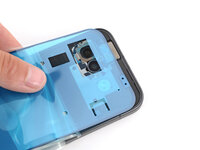
Hold the adhesive above the frame to find its orientation. Use the camera cutout in the liner to help visualize how it will lay on the frame.
-
-
-
-
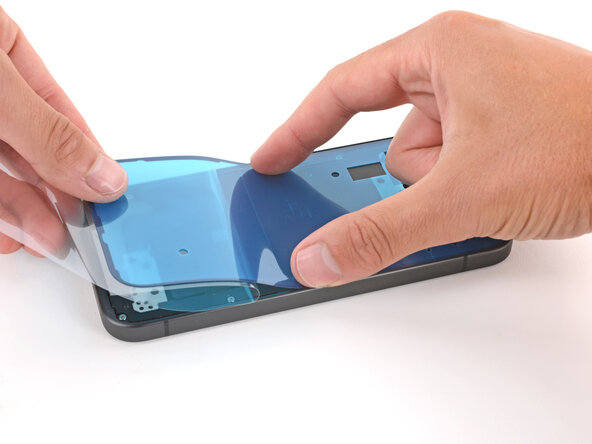
Peel down the top half of the large, clear liner to expose the adhesive—don't fully remove the liner yet.
-
-
-
With the larger, clear liner folded towards the bottom of the phone, lay the exposed top edge of the adhesive onto the frame.
-
Once the top edge is properly aligned, gently press down on the top corners with your fingers to secure the adhesive.
-
-
-
Slowly lay the rest of the adhesive onto the frame, pressing it into place and peeling away the larger liner as you go.
-
-
-
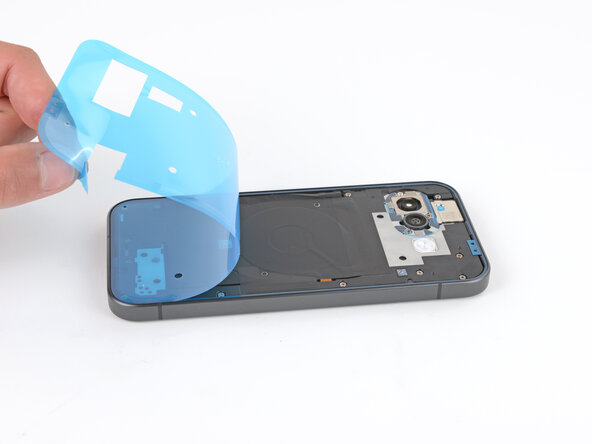
Use the pull tab to remove the large, colored liner.
-
-
-
Use a spudger to press down firmly on the adhesive around the perimeter of your phone to secure it to the frame.
-