crwdns2933423:0crwdne2933423:0

Google Pixel 9a Display tauschen

crwdns2935425:036crwdne2935425:0

crwdns2936315:0crwdne2936315:0
crwdns2936319:0crwdne2936319:0
crwdns2931653:036crwdne2931653:0
Google Pixel 9a Screen Replacement: crwdns2935265:00crwdnd2935265:01crwdnd2935265:03crwdne2935265:0 Google Pixel 9a Screen Replacement: crwdns2935265:00crwdnd2935265:02crwdnd2935265:03crwdne2935265:0 Google Pixel 9a Screen Replacement: crwdns2935265:00crwdnd2935265:03crwdnd2935265:03crwdne2935265:0
  • Firmly press around the perimeter of the screen to secure the adhesive.
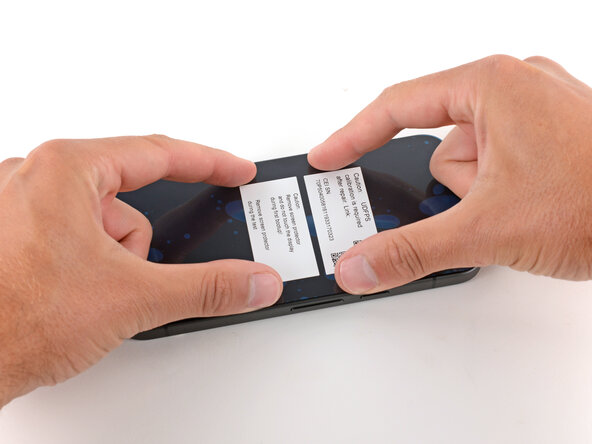
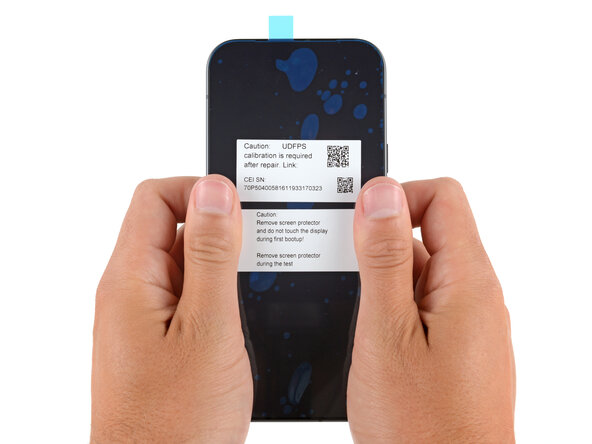
  • You can also hold your phone up and squeeze firmly around the perimeter to strengthen the adhesive bond. For an even more secure bond, lay your phone screen-down on a clean and flat surface underneath a few books overnight.

  • When powering on your phone for the first time:

  • Lay the phone camera-side down on a clean, flat surface. Remove the plastic liner from the screen, making sure nothing touches the phone while you do so (fingers, screen protectors, or cases).

  • To calibrate the display’s fingerprint reader, use Google’s Pixel Update and Software Repair tool.

Drücke das Display rund um den Rand herum gut am Rahmen fest.

Du kannst das Smartphone auch hochheben und den Rand rundum fest zusammendrücken, um die Haftwirkung zu vergrößern. Damit der Kleber richtig gut haftet, lege das Smartphone mit dem Display nach unten auf eine flache und saubere Oberfläche. Packe dann ein paar Bücher obendrauf und lasse sie über Nacht liegen.

Wenn du das Display zum ersten Mal nach der Reparatur einschaltest:

Lege es flach hin und ziehe die Schutzfolie vom Display ab. Achte darauf, dass nichts das Display berührt, z.B. Finger, Schutzfolien, Displayschutz, Schachteln.

Um das Display zu kalibrieren, verwende Googles Pixel Update and Software Repair tool.

crwdns2944171:0crwdnd2944171:0crwdnd2944171:0crwdnd2944171:0crwdne2944171:0