crwdns2933423:0crwdne2933423:0

Changement écran Google Pixel 9a

crwdns2936315:0crwdne2936315:0
crwdns2936317:0crwdne2936317:0
crwdns2931653:023crwdne2931653:0
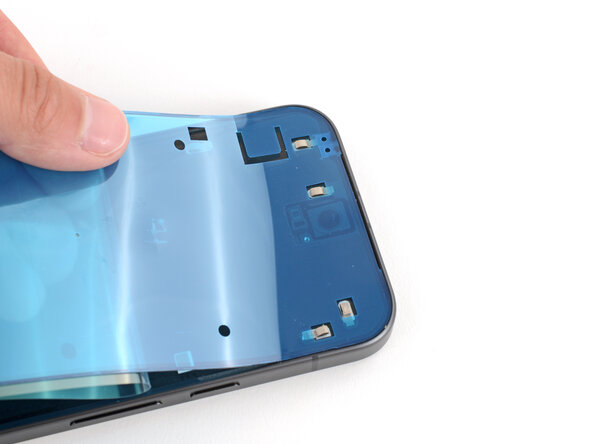
Google Pixel 9a Screen Replacement, Apply the adhesive: crwdns2935265:00crwdnd2935265:01crwdnd2935265:03crwdne2935265:0 Google Pixel 9a Screen Replacement, Apply the adhesive: crwdns2935265:00crwdnd2935265:02crwdnd2935265:03crwdne2935265:0 Google Pixel 9a Screen Replacement, Apply the adhesive: crwdns2935265:00crwdnd2935265:03crwdnd2935265:03crwdne2935265:0
Apply the adhesive
  • Take your time aligning the adhesive with the frame—it's very sticky and can't be moved after you apply it.

  • With the larger, clear liner folded towards the bottom of the phone, lay the exposed top edge of the adhesive onto the frame.

  • Use the lip of the frame to help align the adhesive.

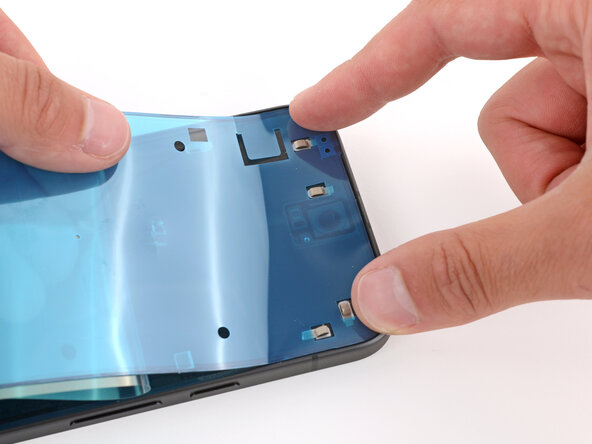
  • Once the top edge is properly aligned, gently press down on the top corners with your fingers to secure the adhesive.

Prenez le temps d'aligner l'adhésif avec le châssis : il est très collant et ne peut pas être déplacé une fois appliqué.

Une fois le grand film de protection transparent replié vers le bas du téléphone, posez le bord supérieur de l'adhésif sur le châssis.

Utilisez le rebord du châssis pour aligner l'adhésif.

Une fois que le bord supérieur est correctement aligné, appuyez délicatement sur les coins supérieurs avec vos doigts pour fixer l'adhésif.

crwdns2944171:0crwdnd2944171:0crwdnd2944171:0crwdnd2944171:0crwdne2944171:0