crwdns2935425:06crwdne2935425:0
crwdns2931653:06crwdne2931653:0

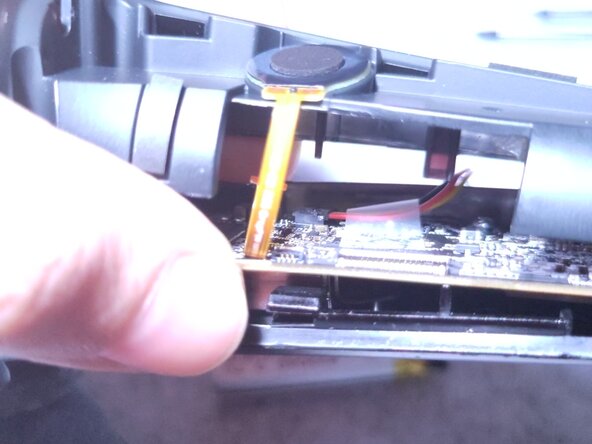


Insert replacement battery
-
Insert the battery connector onto the connector on the printed circuit board, and press down onto the board.
-
Bend the battery wires to arc the connection route better.
-
Now, test that the controller can be powered via USB for a couple minutes, then unplug and attempt to turn on the controller.
-
Once the connection is established, place thick double-sided adhesive onto the replacement battery opposite the rubberized part, and insert the battery into its chamber on the handle.
-
The battery wires should be nested on the side of the battery, not over, under, or in the way of the housing edges.
crwdns2944171:0crwdnd2944171:0crwdnd2944171:0crwdnd2944171:0crwdne2944171:0