crwdns2933423:0crwdne2933423:0

Google Pixel 9a Logic Board Installation

crwdns2931529:0crwdnd2931529:0crwdnd2931529:0crwdnd2931529:06crwdnd2931529:0crwdne2931529:0

crwdns2935425:014crwdne2935425:0

crwdns2936315:0crwdne2936315:0
crwdns2936311:0crwdne2936311:0
crwdns2931653:014crwdne2931653:0
Google Pixel 9a Logic Board Installation, Install the logic board screws: crwdns2935265:00crwdnd2935265:01crwdnd2935265:02crwdne2935265:0 Google Pixel 9a Logic Board Installation, Install the logic board screws: crwdns2935265:00crwdnd2935265:02crwdnd2935265:02crwdne2935265:0
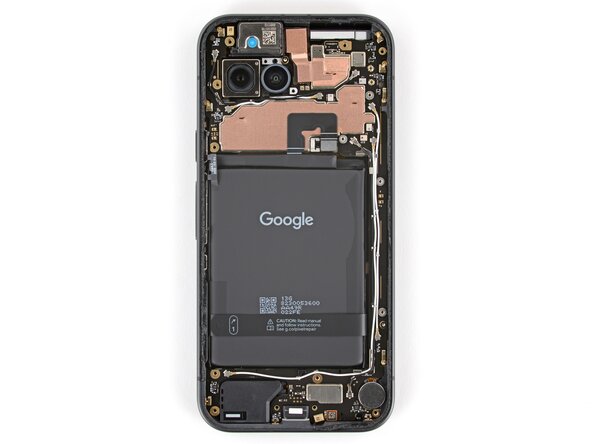
Install the logic board screws
  • Use a 3IP Torx Plus screwdriver to install the two 2.8 mm‑long screws securing the logic board.

  • Make sure the logic board lays flat, with nothing caught underneath, before tightening these screws.

crwdns2935429:0crwdne2935429:0

crwdns2935429:0crwdne2935429:0

crwdns2944171:0crwdnd2944171:0crwdnd2944171:0crwdnd2944171:0crwdne2944171:0