crwdns2915892:0crwdne2915892:0
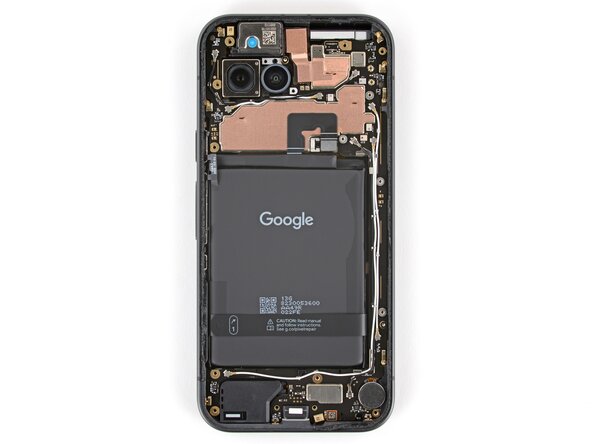
This guide shows how to install the logic board in your Google Pixel 9a smartphone.
crwdns2942213:0crwdne2942213:0
-
-
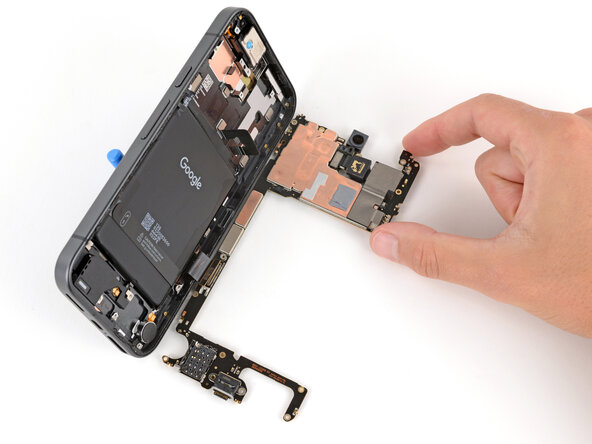
Check the condition of the logic board thermal pads—they'll either be on the bottom of the board or stuck to the corresponding spot on the frame.
-
If the pads are ripped, torn, or otherwise damaged, follow the next five steps to replace them. If they aren't, skip ahead five steps.
-
-
-
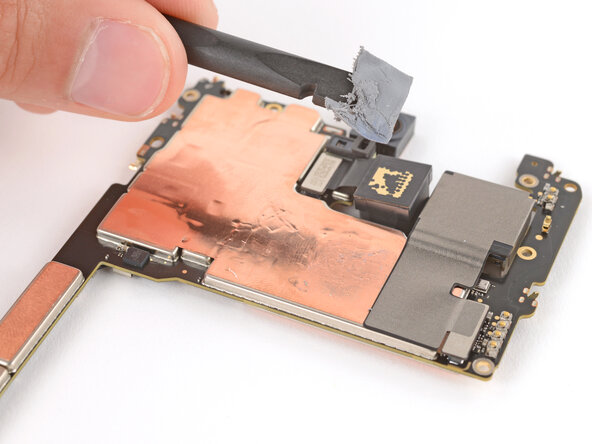
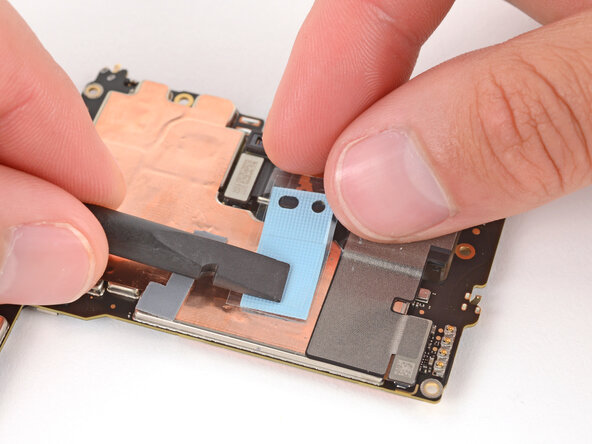
Use the flat end of a spudger to scrape up and remove the damaged thermal pads.
-
-
-
Use high‑concentration (>90%) isopropyl alcohol and a coffee filter to clean up and remove any residue where the thermal pads were.
-
-
-
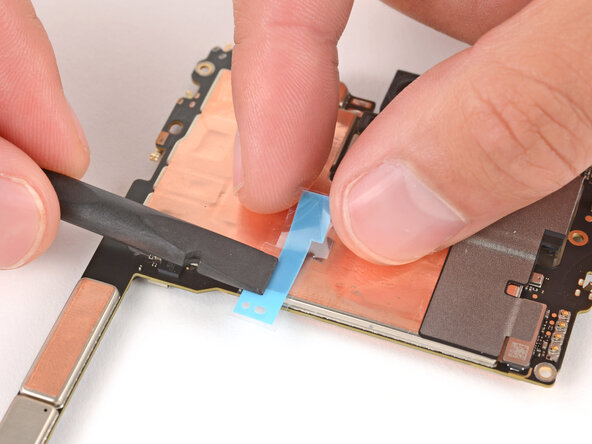
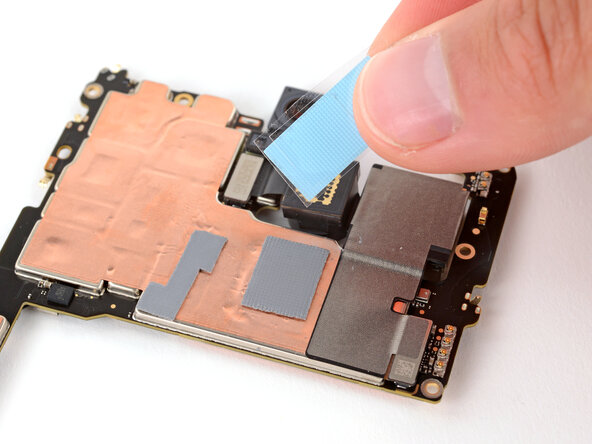
Remove the textured liner from the smaller thermal pad.
-
Carefully place the pad onto the board.
-
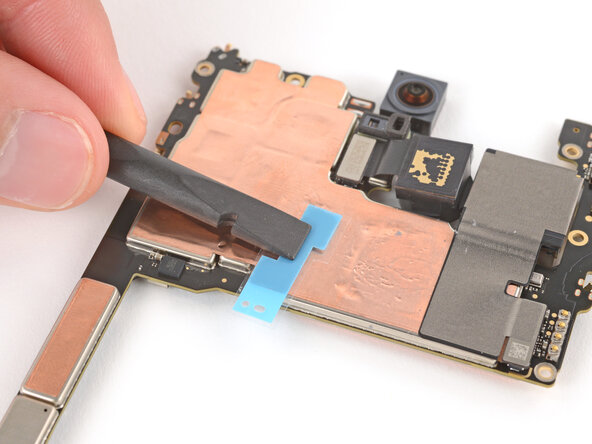
Use the flat end of a spudger or your finger to press down lightly on the entire surface of the thermal pad, securing it in place without deforming it.
-
-
-
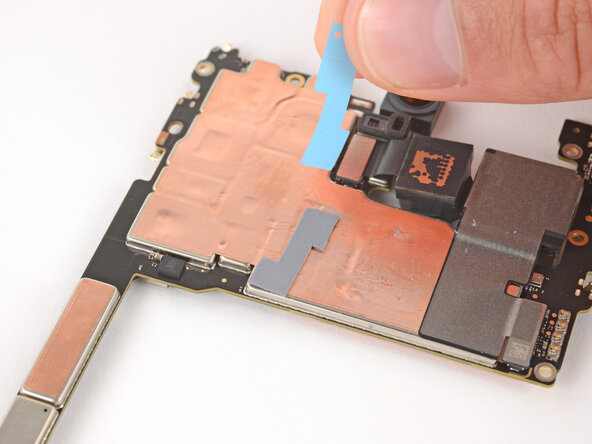
Slowly lift and remove the remaining liners from the top of the thermal pad.
-
-
-
-
Repeat the previous two steps to apply the remaining, larger thermal pad.
-
-
-
Slide the logic board up against the frame so the screen cable is near its connector.
-
-
-
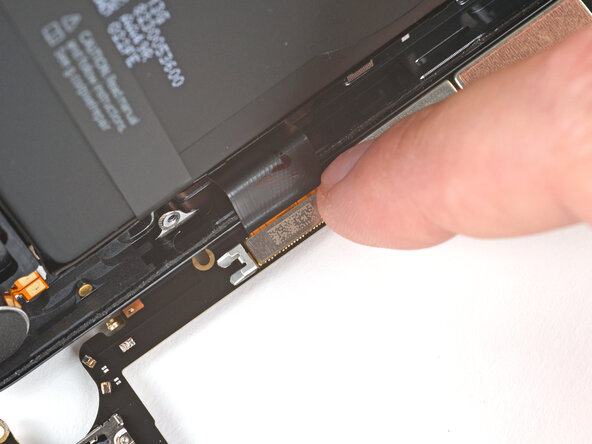
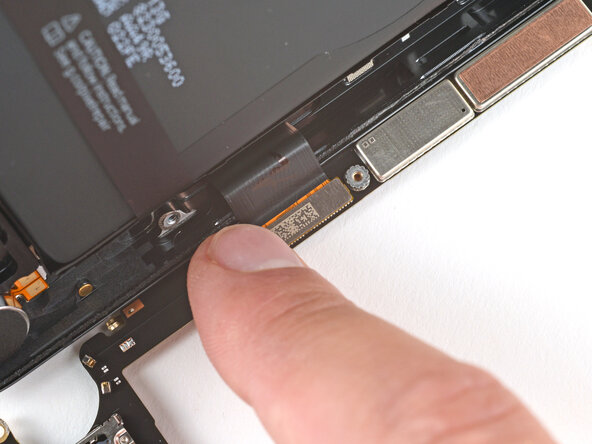
Align the screen cable press connector over its socket and press down with your fingertip—first on one side, then the other—until it clicks into place.
-
-
-
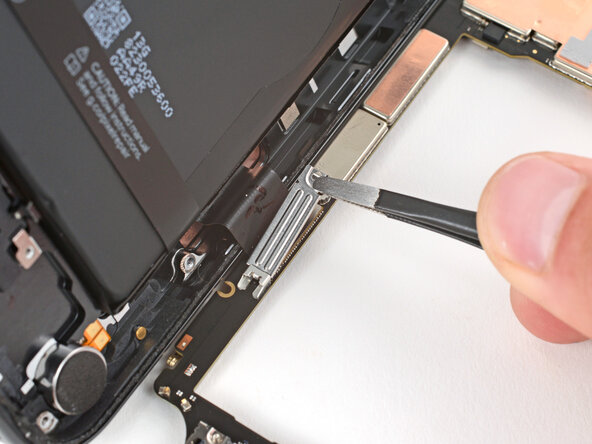
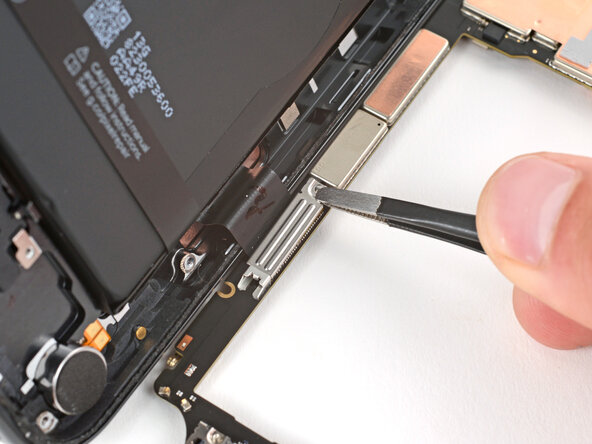
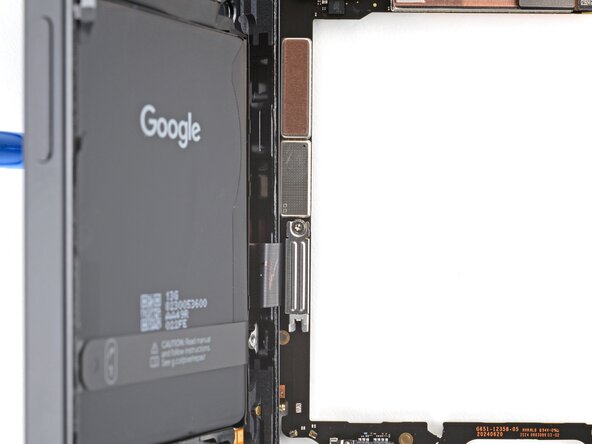
Use tweezers to hook the bottom edge of the screen cable cover into place, then lay the cover down flat.
-
-
-
Use a 3IP Torx Plus screwdriver to install the 1.7 mm‑long screw securing the screen cable cover.
-
-
-
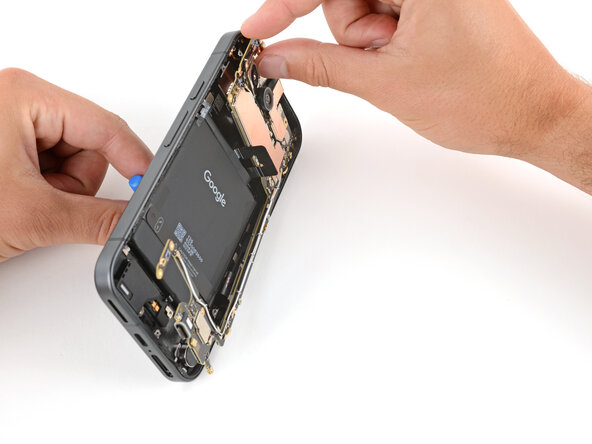
Flip the logic board up so it's gently resting in its recess in the frame.
-
Remove the suction cup and lay your phone screen-side down.
-
-
-
Push the logic board toward the bottom of the frame and press the charging port down until it snaps into its cutout.
-
Press down on the center of the logic board's bottom edge until the clip near the battery engages.
-
-
-
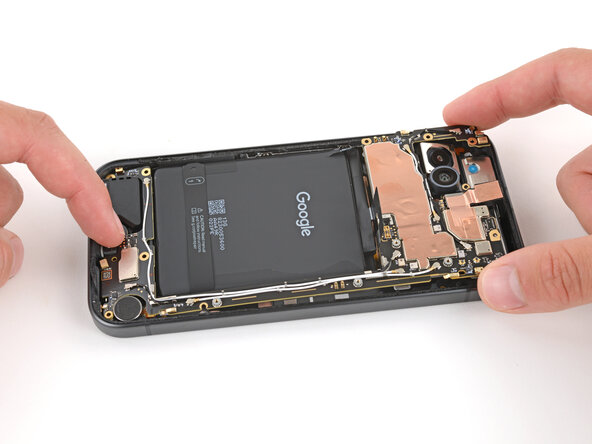
Push down on the top edge of the logic board so it goes into its recess. Make sure the cameras are sitting flush and not at odd angles.
-
-
-
Use a 3IP Torx Plus screwdriver to install the two 2.8 mm‑long screws securing the logic board.
-


