crwdns2933423:0crwdne2933423:0

Google Pixel 9a Logic Board einbauen

crwdns2931529:0crwdnd2931529:0crwdnd2931529:0crwdnd2931529:06crwdnd2931529:0crwdne2931529:0

crwdns2935425:014crwdne2935425:0

crwdns2936315:0crwdne2936315:0
crwdns2936319:0crwdne2936319:0
crwdns2931653:014crwdne2931653:0
Google Pixel 9a Logic Board Installation, Install the logic board screws: crwdns2935265:00crwdnd2935265:01crwdnd2935265:02crwdne2935265:0 Google Pixel 9a Logic Board Installation, Install the logic board screws: crwdns2935265:00crwdnd2935265:02crwdnd2935265:02crwdne2935265:0
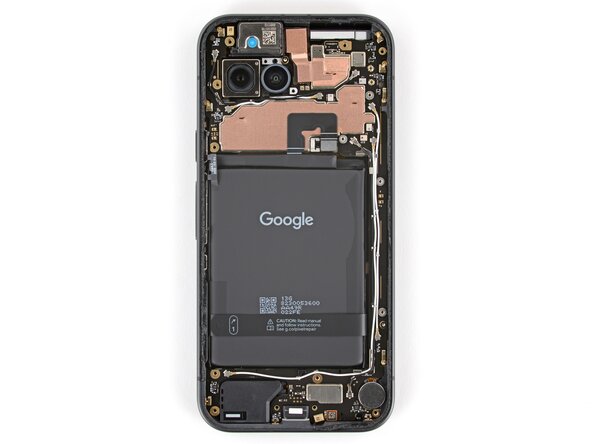
Install the logic board screws
  • Use a 3IP Torx Plus screwdriver to install the two 2.8 mm‑long screws securing the logic board.

  • Make sure the logic board lays flat, with nothing caught underneath, before tightening these screws.

Nimm einen 3IP Torx Plus Schraubendreher und drehe die zwei 2,8 mm langen Schrauben ein, mit denen das Logic Board befestigt ist.

Achte darauf, dass das Logic Board flach liegt und nichts darunter eingeklemmt wird, bevor du die Schrauben festziehst.

crwdns2944171:0crwdnd2944171:0crwdnd2944171:0crwdnd2944171:0crwdne2944171:0