crwdns2933423:0crwdne2933423:0

Sustitución de la batería del teclado Asus ROG Claymore II

crwdns2936315:0crwdne2936315:0
crwdns2936331:0crwdne2936331:0
crwdns2931653:07crwdne2931653:0
Asus ROG Claymore II Battery Replacement, Removing the old battery: crwdns2935265:00crwdnd2935265:01crwdnd2935265:03crwdne2935265:0 Asus ROG Claymore II Battery Replacement, Removing the old battery: crwdns2935265:00crwdnd2935265:02crwdnd2935265:03crwdne2935265:0 Asus ROG Claymore II Battery Replacement, Removing the old battery: crwdns2935265:00crwdnd2935265:03crwdnd2935265:03crwdne2935265:0
Removing the old battery
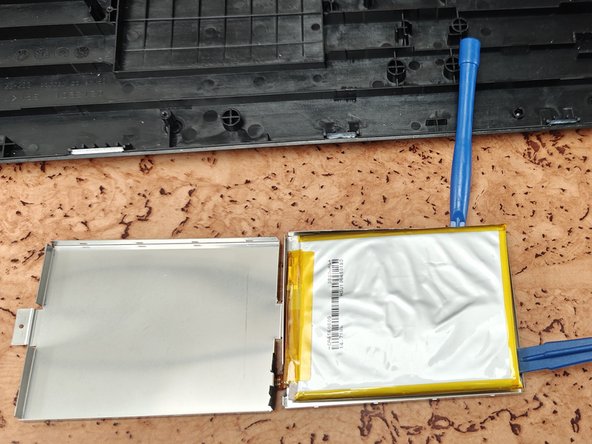
  • Pry open the case releasing the bottom where the battery is. Remember to release the isolating strips.

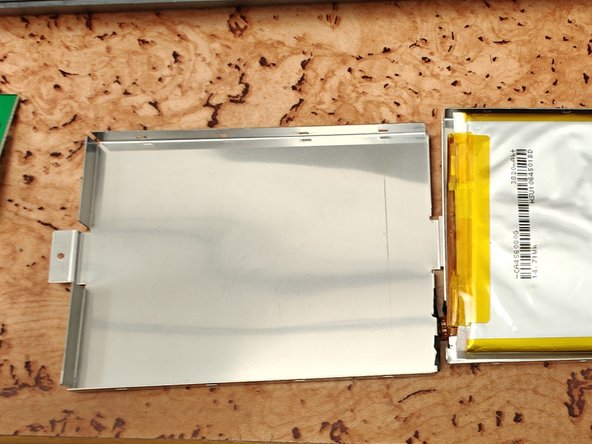
  • The battery is glued with adhesive to the bottom of the case. You'll have to apply some pressure to lift it up from the case.

  • Warning: remember this is a battery, any cuts, damage or punctures might cause the battery to ignite or even explode. So proceed with extreme caution on this step!

Abre la carcasa haciendo palanca para liberar la parte inferior donde se encuentra la batería. Recuerda soltar las tiras aislantes.

La batería está pegada con adhesivo a la parte inferior de la carcasa. Tendrás que aplicar algo de presión para extraerla.

Advertencia: Recuerda que se trata de una batería; cualquier corte, daño o perforación podría provocar que se incendie o incluso explote. ¡Así que ve con mucho cuidado en este paso!

crwdns2944171:0crwdnd2944171:0crwdnd2944171:0crwdnd2944171:0crwdne2944171:0