crwdns2935425:04crwdne2935425:0
crwdns2931653:04crwdne2931653:0

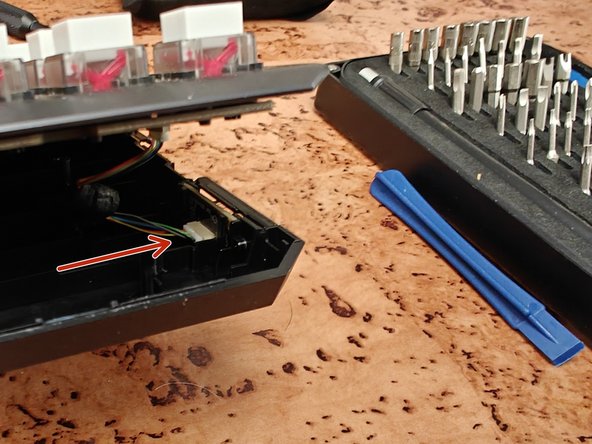


Removing the contact wires
-
Each side will have, on the front of the keyboard, wires that connect to the sides. Locate them.
-
Using tweezers you can disconnect them from the sides. No need to disconnect them from the key board on the top since we don't need to work on it.
-
You will then be able to pull a bit gently the top part and separate it from the bottom, viewing the battery case and a small board that controls the connections on the back.
crwdns2944171:0crwdnd2944171:0crwdnd2944171:0crwdnd2944171:0crwdne2944171:0