crwdns2933423:0crwdne2933423:0

Nothing Phone (2a) Akku tauschen

crwdns2936315:0crwdne2936315:0
crwdns2936319:0crwdne2936319:0
crwdns2931653:012crwdne2931653:0
Nothing Phone (2a) Battery Replacement, Remove x4 T5 screws at the bottom: crwdns2935265:00crwdnd2935265:01crwdnd2935265:03crwdne2935265:0 Nothing Phone (2a) Battery Replacement, Remove x4 T5 screws at the bottom: crwdns2935265:00crwdnd2935265:02crwdnd2935265:03crwdne2935265:0 Nothing Phone (2a) Battery Replacement, Remove x4 T5 screws at the bottom: crwdns2935265:00crwdnd2935265:03crwdnd2935265:03crwdne2935265:0
Remove x4 T5 screws at the bottom
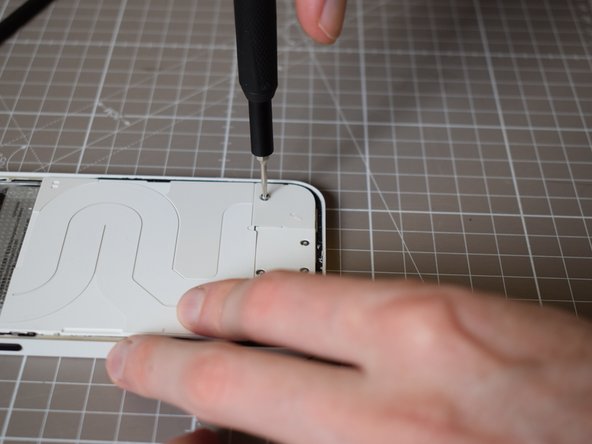
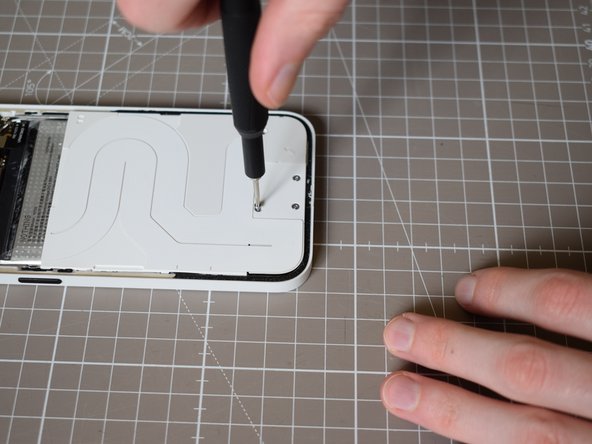
  • Now we will turn our attention to the lower aesthetics panel, the one that looks like it has functional wires on. Again, these are non functional, this panel is purely cosmetic, and must be removed to access the battery.

  • We will start by removing the 4 T5 screws at the bottom.

  • It is helpful to place screws that have been removed in a labelled tub, like an anti-static project tray or use the FixMat to ensure they can be replaced correctly.

Jetzt widmen wir uns der unteren Design-Abdeckung – die sieht zwar so aus, als wären da funktionale Kabel drunter, ist aber komplett kosmetisch.

Los geht’s mit den vier T5-Schrauben an der Unterkante.

Tipp: Sortiere die Schrauben am besten direkt in eine beschriftete Box, damit du später nicht durcheinanderkommst. Du kannst zum Beispiel eine Antistatische Sortierschale oder die FixMat benutzen.

crwdns2944171:0crwdnd2944171:0crwdnd2944171:0crwdnd2944171:0crwdne2944171:0