crwdns2933423:0crwdne2933423:0

Canon EOS Rebel T3 Shutter Assembly Replacement

crwdns2936315:0crwdne2936315:0
crwdns2936317:0crwdne2936317:0
crwdns2931653:04crwdne2931653:0
Canon EOS Rebel T3 Shutter Assembly Replacement, Desoldering Shutter Assembly Cable: crwdns2935265:00crwdnd2935265:01crwdnd2935265:03crwdne2935265:0 Canon EOS Rebel T3 Shutter Assembly Replacement, Desoldering Shutter Assembly Cable: crwdns2935265:00crwdnd2935265:02crwdnd2935265:03crwdne2935265:0 Canon EOS Rebel T3 Shutter Assembly Replacement, Desoldering Shutter Assembly Cable: crwdns2935265:00crwdnd2935265:03crwdnd2935265:03crwdne2935265:0
Desoldering Shutter Assembly Cable
  • Electric Shock Warning: If you have not already done so, use a capacitor discharge tool on the high voltage capacitor located on the DC PCB board before proceeding.

  • On the DC PCB board, peel off the tape covering the shutter assembly power cable.

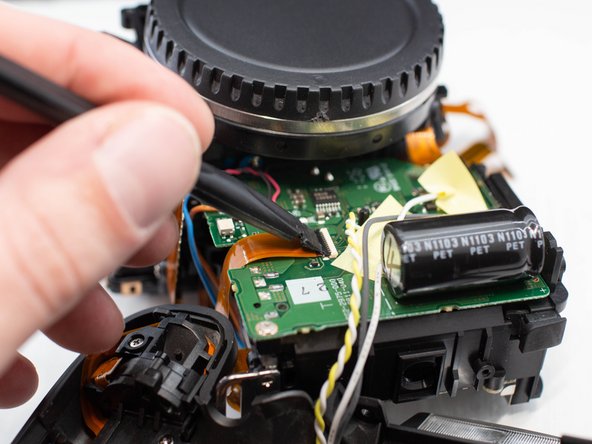
  • Using a plastic spudger tool, lift up the black locking tab on the ribbon cable connector.

  • Disconnect the ribbon cable and tuck the end of it away where it'll be safe while soldering.

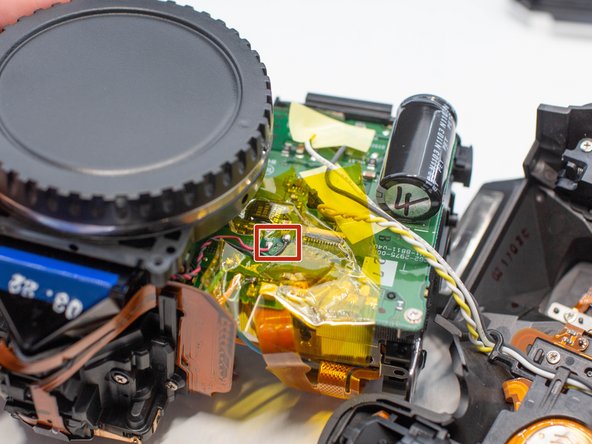
  • Place polyimide tape on the PCB board around the shutter assembly power cables. This is to help protect the components on the PCB board while desoldering the cables.

  • Using a soldering iron and desoldering wick, desolder the two shutter assembly power cables from the DC PCB board. The wires should be red and black.

  • iFixit desoldering guide

crwdns2935429:0crwdne2935429:0

crwdns2935429:0crwdne2935429:0

crwdns2935429:0crwdne2935429:0

crwdns2935429:0crwdne2935429:0

crwdns2935429:0crwdne2935429:0

crwdns2935429:0crwdne2935429:0

crwdns2935429:0crwdne2935429:0

crwdns2944171:0crwdnd2944171:0crwdnd2944171:0crwdnd2944171:0crwdne2944171:0