crwdns2933423:0crwdne2933423:0

Kindle 10 Charging Port Replacement

crwdns2935425:03crwdne2935425:0

crwdns2936315:0crwdne2936315:0
crwdns2936325:0crwdne2936325:0
crwdns2931653:03crwdne2931653:0
Kindle 10 Charging Port Replacement: crwdns2935265:00crwdnd2935265:01crwdnd2935265:03crwdne2935265:0 Kindle 10 Charging Port Replacement: crwdns2935265:00crwdnd2935265:02crwdnd2935265:03crwdne2935265:0 Kindle 10 Charging Port Replacement: crwdns2935265:00crwdnd2935265:03crwdnd2935265:03crwdne2935265:0
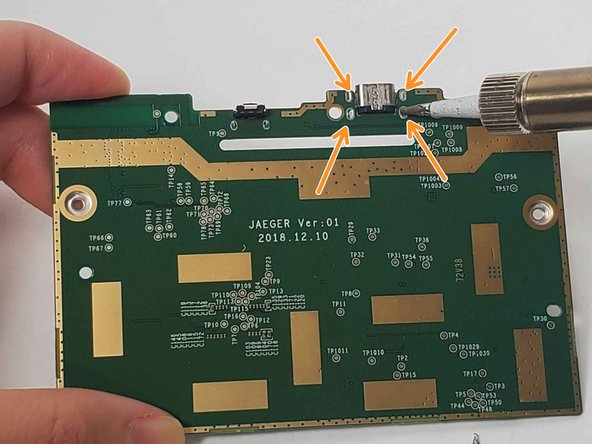
  • Search for "Through-Hole Soldering" on this How To Solder guide to ensure you replace and solder the charging port correctly.

  • If you are just improving the connection and not replacing the component, skip this step.

  • Pull the wires on the four sides of the replacement charging port through the holes in the circuit where the charging port was previously.

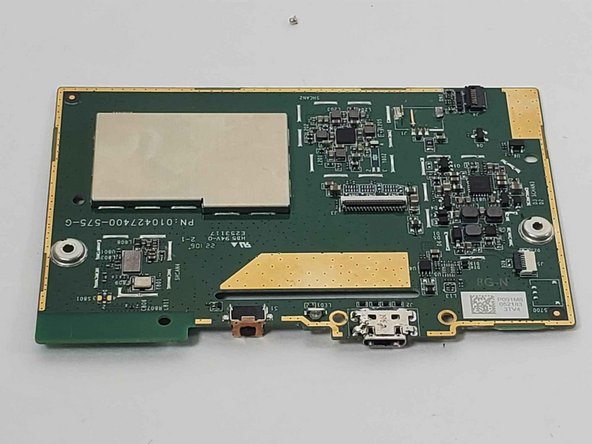
  • Solder its joints in the back. Be sure that the soldering joints creates a concave tent shape indicating a strong connection.

  • Always use a tool such as a tweezer to hold the new LED in place so that your hands are not near the hot soldering iron.

crwdns2935429:0crwdne2935429:0

crwdns2935429:0crwdne2935429:0

crwdns2935429:0crwdne2935429:0

crwdns2935429:0crwdne2935429:0

crwdns2935429:0crwdne2935429:0

crwdns2944171:0crwdnd2944171:0crwdnd2944171:0crwdnd2944171:0crwdne2944171:0