crwdns2933423:0crwdne2933423:0

Vervang de onderkant van je HP EliteBook 840 Aero G8

crwdns2931529:0crwdnd2931529:0crwdnd2931529:0crwdnd2931529:087crwdnd2931529:0crwdne2931529:0

crwdns2935425:05crwdne2935425:0

crwdns2936315:0crwdne2936315:0
crwdns2936313:0crwdne2936313:0
crwdns2931653:05crwdne2931653:0
HP EliteBook 840 Aero G8 Bottom Cover Replacement, Remove the bottom cover: crwdns2935265:00crwdnd2935265:01crwdnd2935265:03crwdne2935265:0 HP EliteBook 840 Aero G8 Bottom Cover Replacement, Remove the bottom cover: crwdns2935265:00crwdnd2935265:02crwdnd2935265:03crwdne2935265:0 HP EliteBook 840 Aero G8 Bottom Cover Replacement, Remove the bottom cover: crwdns2935265:00crwdnd2935265:03crwdnd2935265:03crwdne2935265:0
Remove the bottom cover
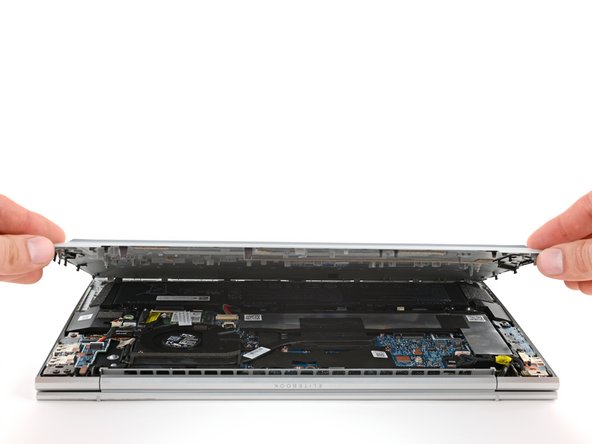
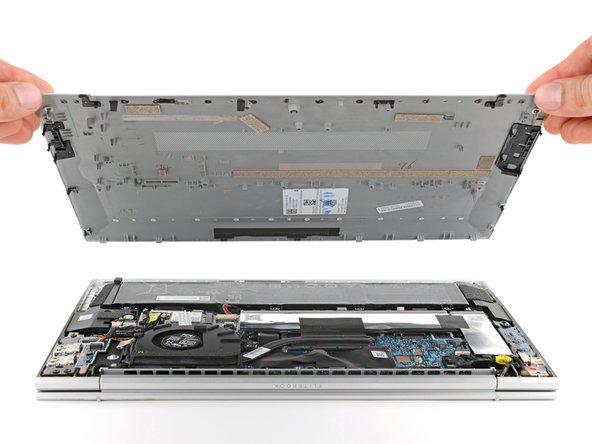
  • Lift and remove the bottom cover.

  • The cover should lift away easily. If you feel resistance, use the flat end of a spudger to release any remaining clips, and check that all screws are fully loosened.

  • During reassembly, slide the clips along the front edge of the cover (opposite the hinge) into their slots on the frame, then lay the cover down. Press firmly around the perimeter to engage all of the clips.

Til het paneel omhoog en verwijder het.

Als het goed is, komt het paneel gemakkelijk los. Als je op weerstand stuit, gebruik je het platte deel van je spudger opnieuw om de nog vastzittende klemmen los te maken.

Als je het onderste paneel weer wilt bevestigen, schuif je de klemmen aan de voorkant van het paneel (tegenover de scharnieren) als eerste in de sleuven in het frame en leg je het paneel vervolgens op de laptop neer. Druk de buitenkant van het paneel vervolgens stevig aan om alle klemmen weer te bevestigen.

crwdns2944171:0crwdnd2944171:0crwdnd2944171:0crwdnd2944171:0crwdne2944171:0