crwdns2915892:0crwdne2915892:0
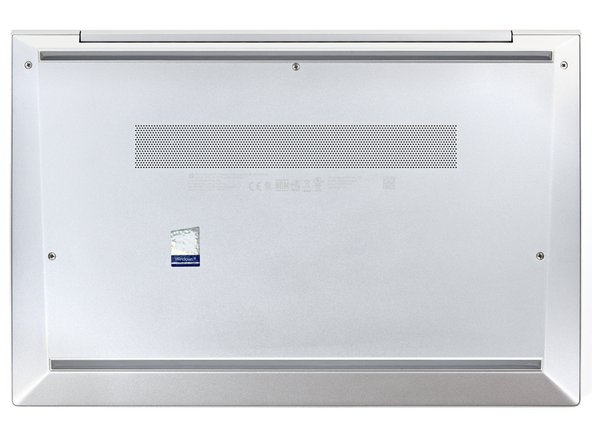
Use this guide to replace a cracked, broken, or damaged bottom cover on your HP EliteBook 840 Aero G8 laptop.
crwdns2942213:0crwdne2942213:0
-
-
Before starting your repair, save your work, fully shut down your laptop, and unplug all cables.
-
-
-
Use a Phillips screwdriver to fully loosen (but not remove) the five captive screws securing the bottom cover.
-
-
-
-
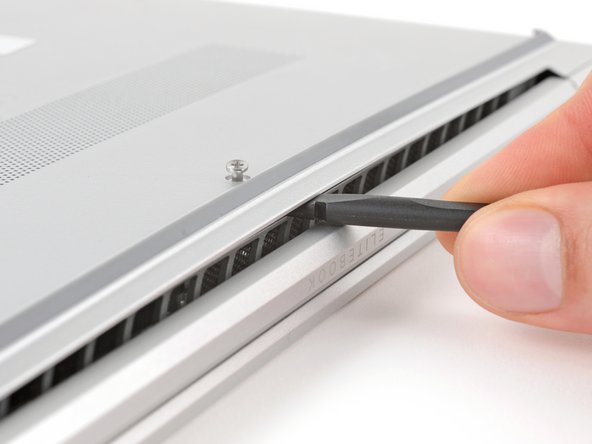
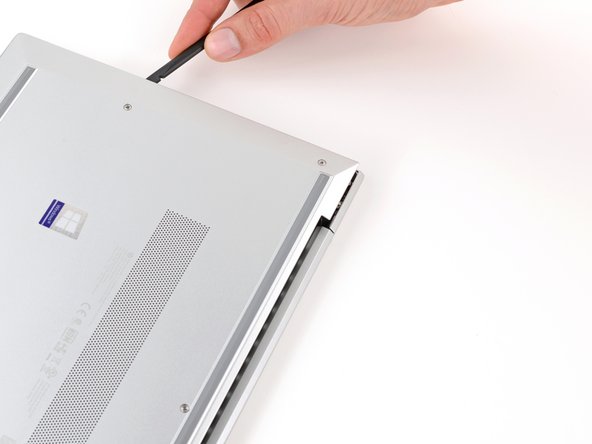
Position your laptop so the rear edge (with the screen hinge) is closest to you.
-
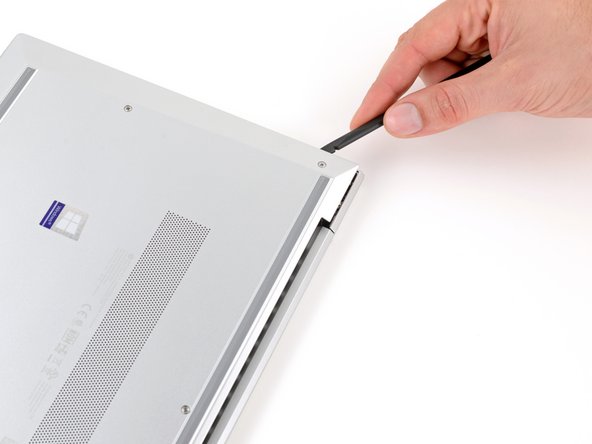
Insert the flat end of a spudger between the rear edge of the bottom cover and the frame, near the middle screw and ELITEBOOK text.
-
Use your spudger to pry up the cover to release the clip securing it.
-
Leave the spudger inserted under the bottom cover for the next step.
-
-
-
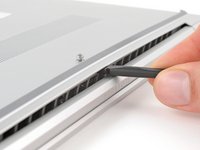
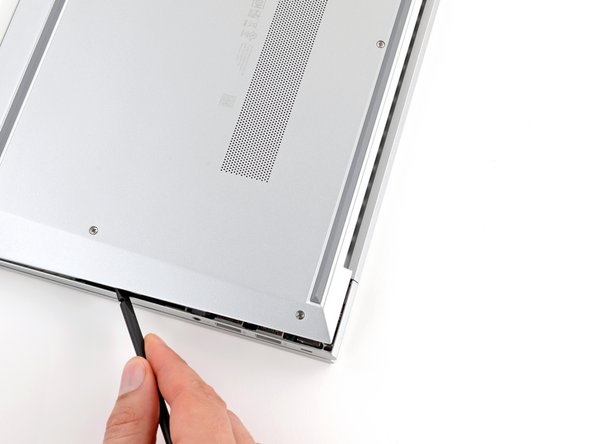
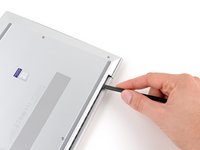
Slide your spudger along the rear edge toward one of the corners to release the rear edge clips.
-
Rotate your spudger around the corner and up the edge to release the clips securing the short edge of the cover.
-
-
-
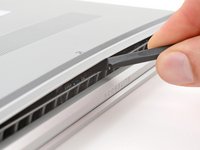
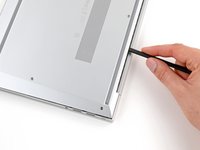
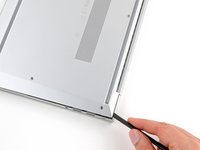
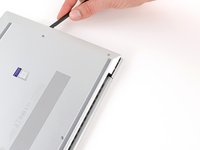
Reinsert the flat end of a spudger near the ELITEBOOK text.
-
Repeat the previous step for the other side of the cover to release the remaining clips.
-
-
-
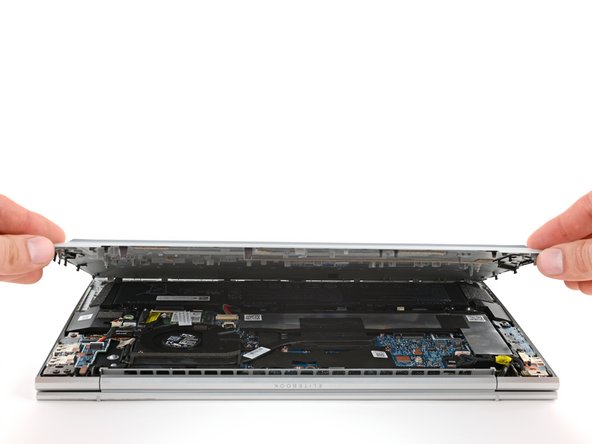
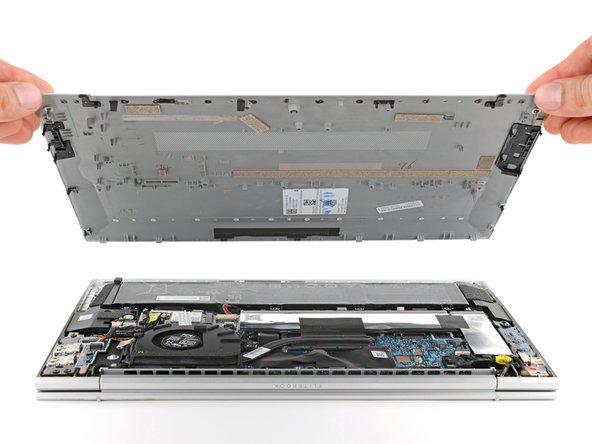
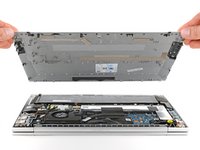
Lift and remove the bottom cover.
-


To reassemble your device, follow these instructions in reverse order.
Repair didn’t go as planned? Try some basic troubleshooting, or ask our Answers community for help.
To reassemble your device, follow these instructions in reverse order.
Repair didn’t go as planned? Try some basic troubleshooting, or ask our Answers community for help.

