crwdns2933423:0crwdne2933423:0

How to repair broken pottery/ceramic with Kintsugi

crwdns2936315:0crwdne2936315:0
crwdns2936323:0crwdne2936323:0
crwdns2931653:08crwdne2931653:0
How to repair broken pottery/ceramic with Kintsugi: crwdns2935265:00crwdnd2935265:01crwdnd2935265:03crwdne2935265:0 How to repair broken pottery/ceramic with Kintsugi: crwdns2935265:00crwdnd2935265:02crwdnd2935265:03crwdne2935265:0 How to repair broken pottery/ceramic with Kintsugi: crwdns2935265:00crwdnd2935265:03crwdnd2935265:03crwdne2935265:0
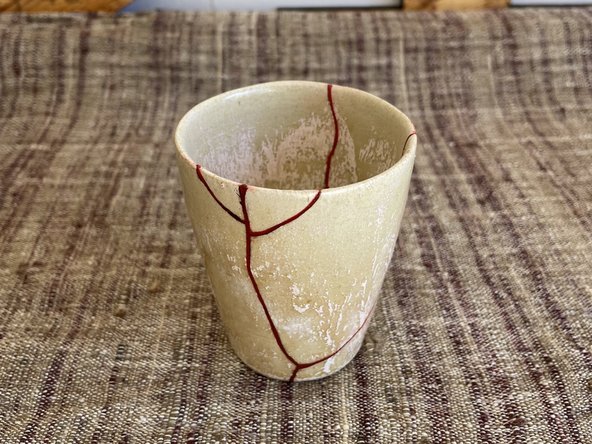
  • The amount of kintsugi to be applied depends on your preference. It is also possible to apply more to give a little thickness.

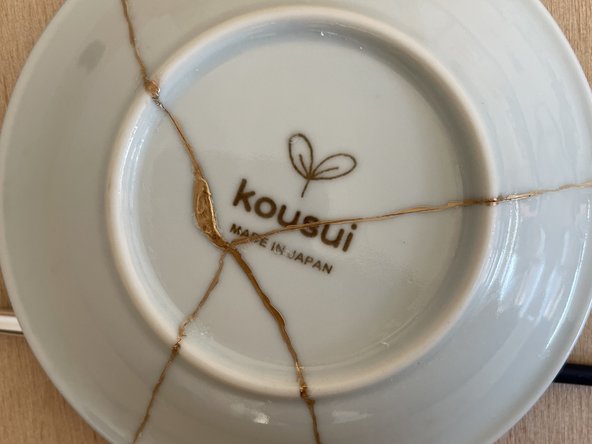
  • Image 1 &2: Front and back of the plate. The front is a thin layer of epoxy resin. Do not apply a thick coat. When applying the kintsugi, the speed is one millimeter per second.

  • Image 3: A plate with chipped rim. In this case, put epoxy resin in the chipped area, file it after it dries, and apply a thin layer of lacquer over it.

crwdns2935429:0crwdne2935429:0

crwdns2935429:0crwdne2935429:0

crwdns2935429:0crwdne2935429:0

crwdns2944171:0crwdnd2944171:0crwdnd2944171:0crwdnd2944171:0crwdne2944171:0