crwdns2933423:0crwdne2933423:0

Roborock S7 Laser-Abstandssensor tauschen

crwdns2936315:0crwdne2936315:0
crwdns2936319:0crwdne2936319:0
crwdns2931653:05crwdne2931653:0
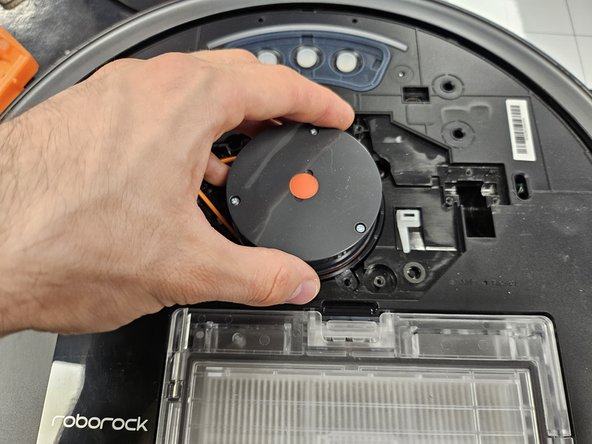
Roborock S7: Laser Distance Sensor Replacement, Removing the LDS.: crwdns2935265:00crwdnd2935265:01crwdnd2935265:03crwdne2935265:0 Roborock S7: Laser Distance Sensor Replacement, Removing the LDS.: crwdns2935265:00crwdnd2935265:02crwdnd2935265:03crwdne2935265:0 Roborock S7: Laser Distance Sensor Replacement, Removing the LDS.: crwdns2935265:00crwdnd2935265:03crwdnd2935265:03crwdne2935265:0
Removing the LDS.
  • Remove the four marked screws.

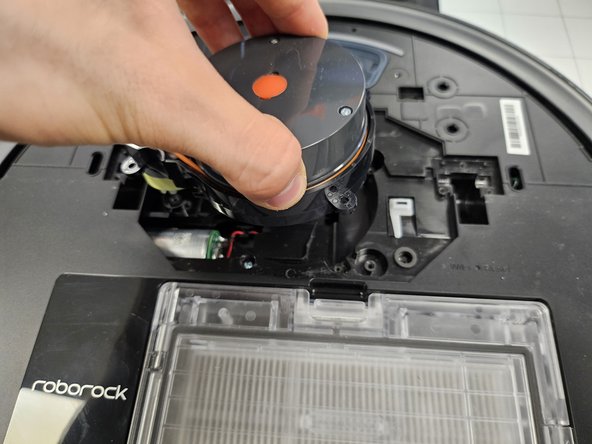
  • Then, much like the cage, simply lift the LDS out of the slot.

  • One iteration of the LDS is smaller in size and is connected to the motherboard via cable connector. You will also see 8 screws, simply unscrew the inner 4, then lift it slowly, until you can flip it over and detach the connector.

  • If you have an LDS replacement, simply insert your new LDS and close the device up.

Entferne die vier markierten Schrauben.

Hebe dann den LDS ähnlich wie den Käfig einfach heraus.

Eine Ausführung des LDS ist kleiner und mit Steckern an der Hauptplatine angeschlossen. Es sind acht Schrauben zu erkennen, drehe die inneren vier heraus. Hebe ihn langsam hoch, bis du ihn umdrehen und den Stecker abtrennen kannst.

Wenn du einen Ersatz für den LDS hast, dann baue ihn jetzt ein und verschließe das Gerät wieder.

crwdns2944171:0crwdnd2944171:0crwdnd2944171:0crwdnd2944171:0crwdne2944171:0