crwdns2933423:0crwdne2933423:0

Smart Soldering Iron 메인 보드 교체

crwdns2931529:0crwdnd2931529:0crwdnd2931529:0crwdnd2931529:02crwdnd2931529:0crwdne2931529:0

crwdns2935425:04crwdne2935425:0

crwdns2936315:0crwdne2936315:0
crwdns2936325:0crwdne2936325:0
crwdns2931653:04crwdne2931653:0
Smart Soldering Iron Main Board Replacement, Remove the main board: crwdns2935265:00crwdnd2935265:01crwdnd2935265:03crwdne2935265:0 Smart Soldering Iron Main Board Replacement, Remove the main board: crwdns2935265:00crwdnd2935265:02crwdnd2935265:03crwdne2935265:0 Smart Soldering Iron Main Board Replacement, Remove the main board: crwdns2935265:00crwdnd2935265:03crwdnd2935265:03crwdne2935265:0
Remove the main board
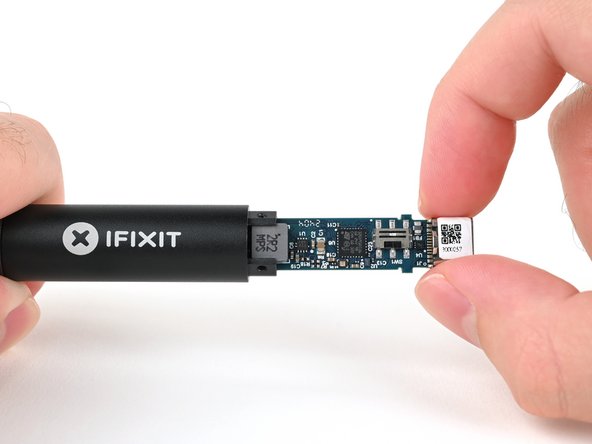
  • Grasp the end of the main board that sticks out from inside of the soldering iron handle.

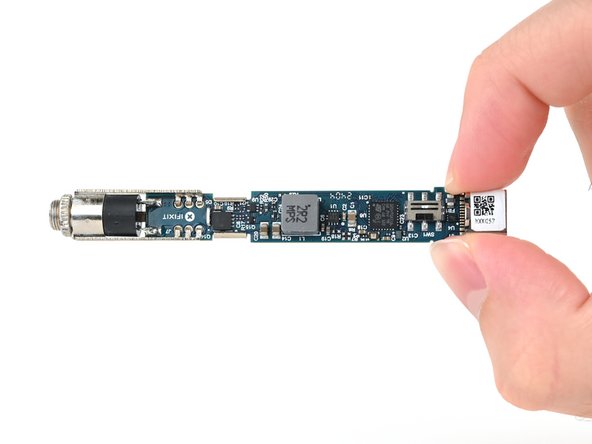
  • Pull to slide the main board out of the handle.

  • When reassembling your iron, make sure to insert the main board with the shiny iron auxiliary port end first.

납땜 인두 손잡이 안쪽에서 튀어나온 메인 보드의 끝을 잡으세요.

당겨서 메인 보드를 손잡이에서 빼내세요.

인두를 재조립할 때는 반짝이는 인두의 보조 포트 끝이 있는 메인보드를 먼저 끼우세요.

crwdns2944171:0crwdnd2944171:0crwdnd2944171:0crwdnd2944171:0crwdne2944171:0