crwdns2933423:0crwdne2933423:0

Reemplazo de la placa principal del soldador

crwdns2931529:0crwdnd2931529:0crwdnd2931529:0crwdnd2931529:02crwdnd2931529:0crwdne2931529:0

crwdns2935425:04crwdne2935425:0

crwdns2936315:0crwdne2936315:0
crwdns2936331:0crwdne2936331:0
crwdns2931653:04crwdne2931653:0
Smart Soldering Iron Main Board Replacement, Remove the main board: crwdns2935265:00crwdnd2935265:01crwdnd2935265:03crwdne2935265:0 Smart Soldering Iron Main Board Replacement, Remove the main board: crwdns2935265:00crwdnd2935265:02crwdnd2935265:03crwdne2935265:0 Smart Soldering Iron Main Board Replacement, Remove the main board: crwdns2935265:00crwdnd2935265:03crwdnd2935265:03crwdne2935265:0
Remove the main board
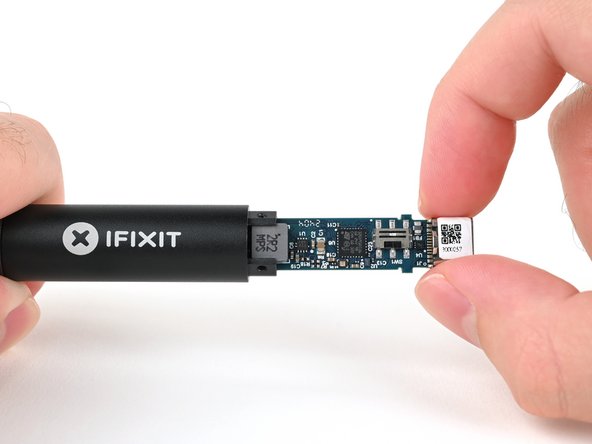
  • Grasp the end of the main board that sticks out from inside of the soldering iron handle.

  • Pull to slide the main board out of the handle.

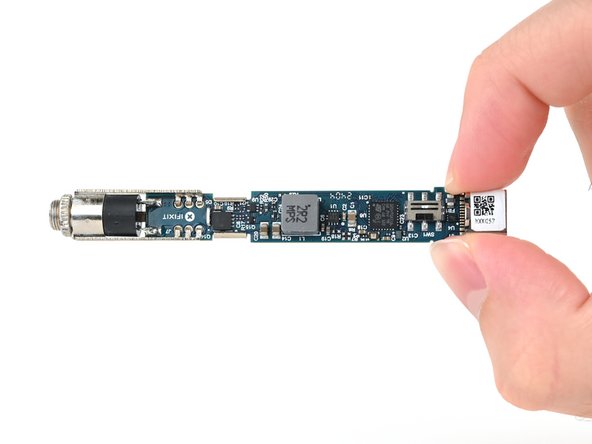
  • When reassembling your iron, make sure to insert the main board with the shiny iron auxiliary port end first.

Agarra el extremo de la placa principal que sobresale del interior del mango del soldador.

Tira para deslizar la placa principal fuera del mango.

Cuando vuelvas a montar el soldador, asegúrate de introducir la placa principal con el extremo del puerto auxiliar del soldador brillante primero

crwdns2944171:0crwdnd2944171:0crwdnd2944171:0crwdnd2944171:0crwdne2944171:0