crwdns2933423:0crwdne2933423:0

Intelligenter Lötkolben Motherboard tauschen

crwdns2931529:0crwdnd2931529:0crwdnd2931529:0crwdnd2931529:02crwdnd2931529:0crwdne2931529:0

crwdns2935425:04crwdne2935425:0

crwdns2936315:0crwdne2936315:0
crwdns2936319:0crwdne2936319:0
crwdns2931653:04crwdne2931653:0
Smart Soldering Iron Main Board Replacement, Remove the main board: crwdns2935265:00crwdnd2935265:01crwdnd2935265:03crwdne2935265:0 Smart Soldering Iron Main Board Replacement, Remove the main board: crwdns2935265:00crwdnd2935265:02crwdnd2935265:03crwdne2935265:0 Smart Soldering Iron Main Board Replacement, Remove the main board: crwdns2935265:00crwdnd2935265:03crwdnd2935265:03crwdne2935265:0
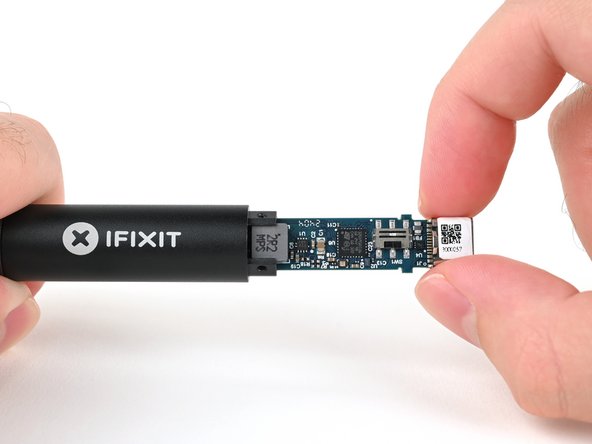
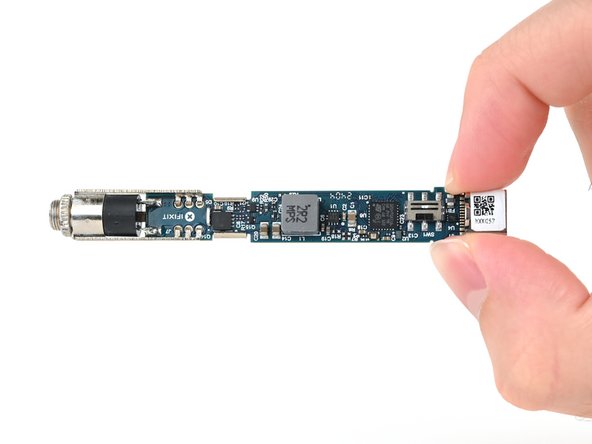
Remove the main board
  • Grasp the end of the main board that sticks out from inside of the soldering iron handle.

  • Pull to slide the main board out of the handle.

  • When reassembling your iron, make sure to insert the main board with the shiny iron auxiliary port end first.

Fasse das Ende des Motherboards, das aus dem Griff des Lötkolbens herausragt.

Ziehe daran, um das Motherboard aus dem Griff zu holen.

Beim Wiederzusammenbau des Lötkolbens muss das Motherboard mit dem glänzenden Ende mit dem Lötkolben-Zusatzanschluss zuerst eingesetzt werden.

crwdns2944171:0crwdnd2944171:0crwdnd2944171:0crwdnd2944171:0crwdne2944171:0