crwdns2933423:0crwdne2933423:0

iPhone 14の充電コイルアセンブリ交換

crwdns2935425:011crwdne2935425:0

crwdns2936315:0crwdne2936315:0
crwdns2936323:0crwdne2936323:0
crwdns2931653:011crwdne2931653:0
iPhone 14 charging coil assembly replacement, Finish: crwdns2935265:00crwdnd2935265:01crwdnd2935265:03crwdne2935265:0 iPhone 14 charging coil assembly replacement, Finish: crwdns2935265:00crwdnd2935265:02crwdnd2935265:03crwdne2935265:0 iPhone 14 charging coil assembly replacement, Finish: crwdns2935265:00crwdnd2935265:03crwdnd2935265:03crwdne2935265:0
Finish
  • With everything nice and clean and glue or a gasket added you may reconnect the coil and battery in this order and close the backcover.

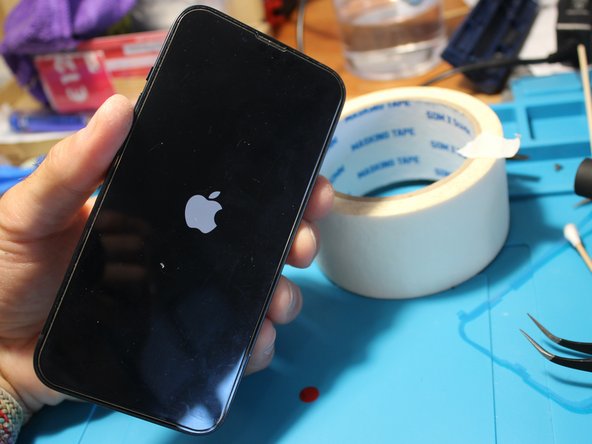
  • Start up your iPhone and test everything again to make sure the repair is successful.

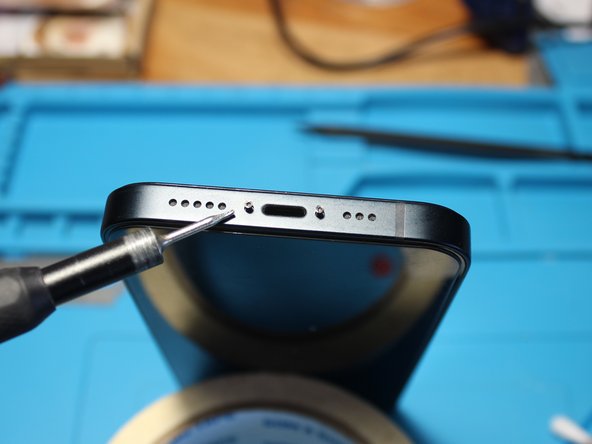
  • Screw the two P2 pentalobe screws back to the bottom of your iPhone. You're done!

何も問題がなく、清掃して接着剤かガスケットを取り付けたら、コイル・バッテリーの順で接続し直してから、背面カバーを閉じます。

iPhoneを起動してから全ての機能をもう一度テストして、修理が完了したことを確認して下さい。

iPhoneの底面にP2ペンタローブネジ2本を取り付け直して下さい。以上で作業完了です。

crwdns2944171:0crwdnd2944171:0crwdnd2944171:0crwdnd2944171:0crwdne2944171:0