crwdns2933423:0crwdne2933423:0

Google Pixel 9に新しい背面ガラスの接着剤をつける方法

crwdns2935425:012crwdne2935425:0

crwdns2936315:0crwdne2936315:0
crwdns2936323:0crwdne2936323:0
crwdns2931653:012crwdne2931653:0
How to Apply New Back Glass Adhesive in Your Google Pixel 9: crwdns2935265:00crwdnd2935265:01crwdnd2935265:03crwdne2935265:0 How to Apply New Back Glass Adhesive in Your Google Pixel 9: crwdns2935265:00crwdnd2935265:02crwdnd2935265:03crwdne2935265:0 How to Apply New Back Glass Adhesive in Your Google Pixel 9: crwdns2935265:00crwdnd2935265:03crwdnd2935265:03crwdne2935265:0
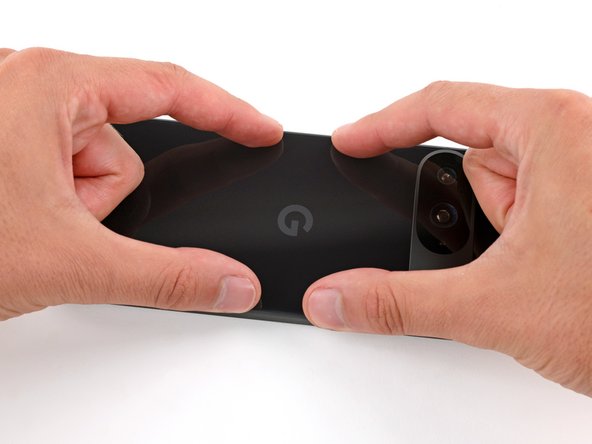
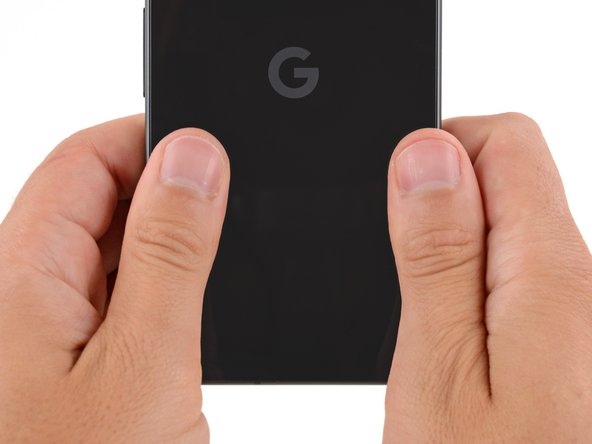
  • Press down and squeeze firmly around the entire perimeter of the back glass to secure it with the adhesive.

  • When powering on your Pixel for the first time after your repair, make sure the phone is laying flat and nothing is touching the screen (fingers, plastic liners, screen protectors, cases).

外周部分を接着剤で固定するため、強い力で押し込みます。

修理後に初めて Pixel の電源を入れるときは、スマートフォンが平らに置かれ、画面に何も触れていないことを確認してください(指、プラスチックライナー、スクリーンプロテクター、ケースなど)。

crwdns2944171:0crwdnd2944171:0crwdnd2944171:0crwdnd2944171:0crwdne2944171:0