crwdns2933423:0crwdne2933423:0

Come applicare il nuovo adesivo per il vetro posteriore nel tuo Google Pixel 9

crwdns2935425:012crwdne2935425:0

crwdns2936315:0crwdne2936315:0
crwdns2936321:0crwdne2936321:0
crwdns2931653:012crwdne2931653:0
How to Apply New Back Glass Adhesive in Your Google Pixel 9: crwdns2935265:00crwdnd2935265:01crwdnd2935265:03crwdne2935265:0 How to Apply New Back Glass Adhesive in Your Google Pixel 9: crwdns2935265:00crwdnd2935265:02crwdnd2935265:03crwdne2935265:0 How to Apply New Back Glass Adhesive in Your Google Pixel 9: crwdns2935265:00crwdnd2935265:03crwdnd2935265:03crwdne2935265:0
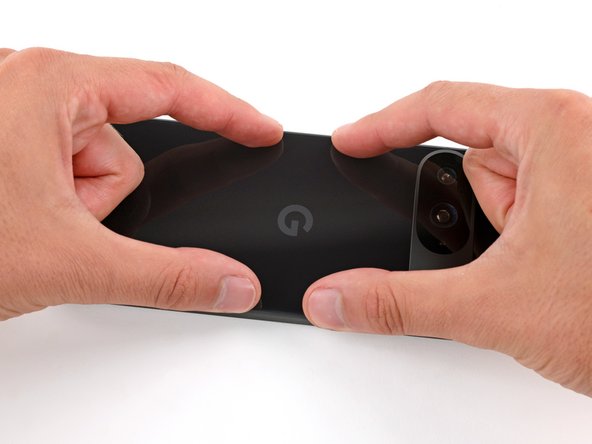
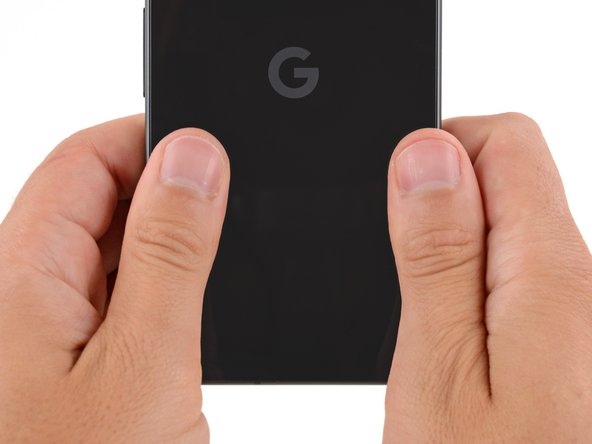
  • Press down and squeeze firmly around the entire perimeter of the back glass to secure it with the adhesive.

  • When powering on your Pixel for the first time after your repair, make sure the phone is laying flat and nothing is touching the screen (fingers, plastic liners, screen protectors, cases).

Premi verso il basso e stringi con fermezza attorno all'intero perimetro del vetro posteriore per fissarlo con l'adesivo.

Quando accendi il tuo Pixel per la prima volta dopo la riparazione, accertati che il tuo telefono sia in piano e niente stia toccando lo schermo (dita, pellicole di plastica, protettori dello schermo, cover).

crwdns2944171:0crwdnd2944171:0crwdnd2944171:0crwdnd2944171:0crwdne2944171:0