crwdns2935425:010crwdne2935425:0
crwdns2931653:010crwdne2931653:0

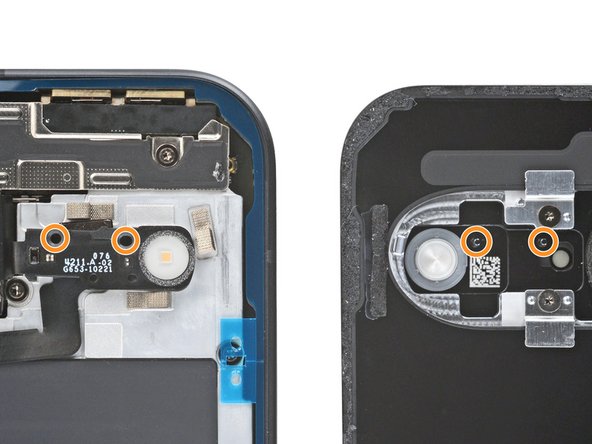


Remove any camera bump liners
-
Remove any liners from the underside of the back glass, near the camera cutout area.
-
The flash unit has two circular cutouts along its top edge that correspond with metal posts on the underside of the back glass. When putting the back glass onto the frame, make sure the posts go into their cutouts.
| - | [title] Prop up the rear cover |
|---|---|
| - | [* red] Remove any liners from the underside of the rear cover, near the camera cutout area. |
| - | [* black] Apply a suction handle to the back of the rear cover, as close to the center of the right edge as possible. |
| - | [* black] Prop up the rear cover just to the right of your phone. |
| + | [title] Remove any camera bump liners |
| + | [* red] Remove any liners from the underside of the back glass, near the camera cutout area. |
| + | [* orange] The flash unit has two circular cutouts along its top edge that correspond with metal posts on the underside of the back glass. When putting the back glass onto the frame, make sure the posts go into their cutouts. |
crwdns2944171:0crwdnd2944171:0crwdnd2944171:0crwdnd2944171:0crwdne2944171:0