crwdns2935425:06crwdne2935425:0
crwdns2931653:06crwdne2931653:0

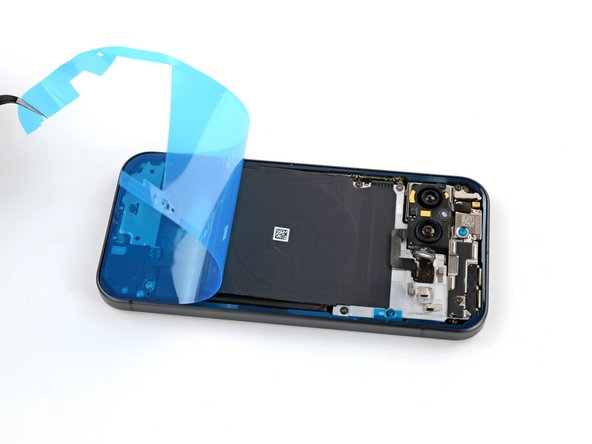
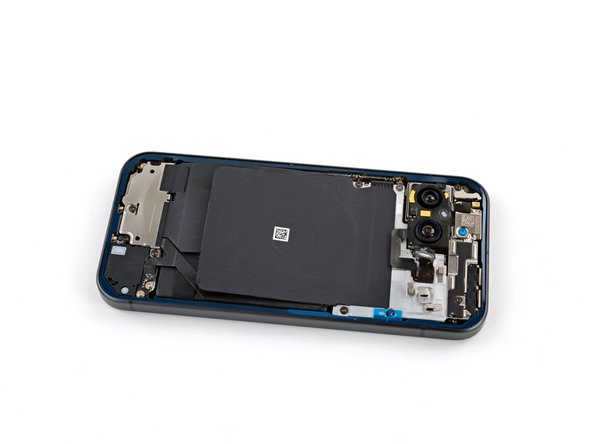


Remove the first liner
-
Grip the top right corner of the large blue liner with tweezers or your fingers and remove the liner.
crwdns2944171:0crwdnd2944171:0crwdnd2944171:0crwdnd2944171:0crwdne2944171:0