crwdns2933423:0crwdne2933423:0

Come applicare il nuovo adesivo per il vetro posteriore nel tuo Google Pixel 9

crwdns2936315:0crwdne2936315:0
crwdns2936321:0crwdne2936321:0
crwdns2931653:04crwdne2931653:0
How to Apply New Back Glass Adhesive in Your Google Pixel 9: crwdns2935265:00crwdnd2935265:01crwdnd2935265:03crwdne2935265:0 How to Apply New Back Glass Adhesive in Your Google Pixel 9: crwdns2935265:00crwdnd2935265:02crwdnd2935265:03crwdne2935265:0 How to Apply New Back Glass Adhesive in Your Google Pixel 9: crwdns2935265:00crwdnd2935265:03crwdnd2935265:03crwdne2935265:0
  • Be very careful during this step! Once the adhesive sticks to the frame, you won't be able to reposition it. If the adhesive gets applied incorrectly, you'll have to start over with a new one.

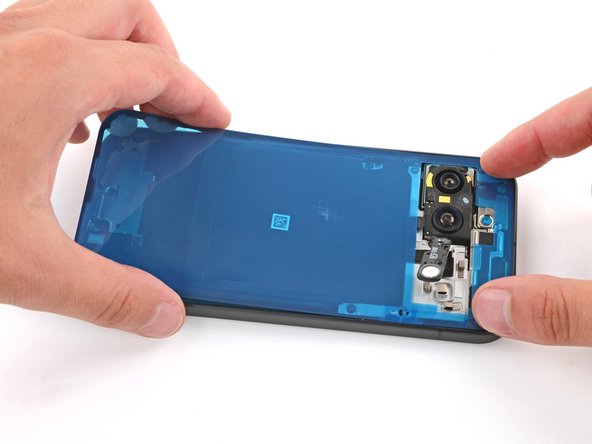
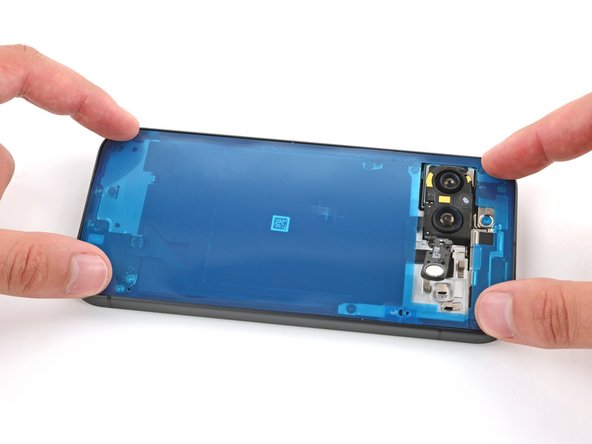
  • Carefully place the adhesive onto the frame so the large cutout goes over the cameras. Use the frame's lip to help position the sheet.

Fai molta attenzione durante questo passaggio! Una volta che l'adesivo si attacca al telaio, non potrai più riposizionarlo. Se l'adesivo viene applicato in modo errato, dovrai ricominciare con uno nuovo.

Posiziona con cura l'adesivo sul telaio in modo che il grande ritaglio sia sopra le fotocamere. Usa il bordo del telaio per aiutarti a posizionare il foglio.

crwdns2944171:0crwdnd2944171:0crwdnd2944171:0crwdnd2944171:0crwdne2944171:0