crwdns2935425:02crwdne2935425:0
crwdns2931653:02crwdne2931653:0


Heat the battery
-
Strong strips of adhesive secure the battery to the frame. Heating the battery will soften the adhesive, making it easier to separate.
-
Use a hair dryer on High heat and Low speed settings to heat the battery for three minutes, while holding the hair dryer about three inches from the battery. Try to evenly spread the heat over the entire surface of the battery.
| [title] Heat the battery | |
| - | [* black] ***''Before'' starting the battery removal process, carefully read the next ''three steps''***. The pull tabs are most effective directly after heating the battery, so you'll want to know exactly what you'll be doing before starting the process. |
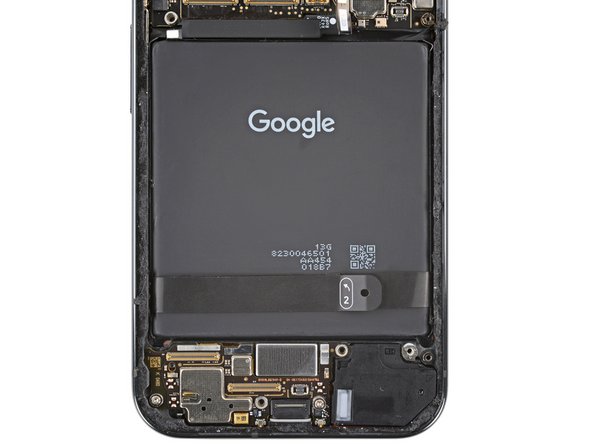
| - | [* red] Strong strips of adhesive secure the battery to the frame. |
| - | [* icon_note] Heating the battery will soften the adhesive, making it easier to separate. |
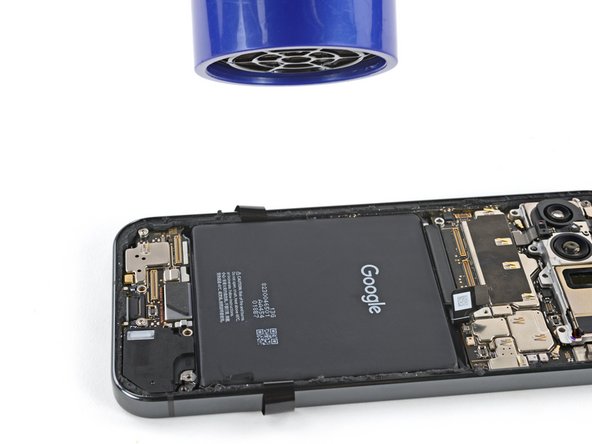
| - | [* black] [guide|157348|Use a hair dryer|new_window=true] on ***High*** heat and ***Low*** speed settings to heat the battery for three minutes. |
| - | [* icon_note] Alternatively, you can also use a heat mat at 70 degrees Celsius (158 degrees Fahrenheit) with your phone placed screen side down for 10 minutes. |
| + | [* icon_caution] Before starting the battery removal process, carefully read the next ''three steps''. The pull tabs are most effective immediately after heating the battery, so you'll want to know exactly what to do before starting the process. |
| + | [* red] Strong strips of adhesive secure the battery to the frame. Heating the battery will soften the adhesive, making it easier to separate. |
| + | [* black] [guide|157348|Use a hair dryer|new_window=true] on ***High*** heat and ***Low*** speed settings to heat the battery for three minutes, while holding the hair dryer about three inches from the battery. Try to evenly spread the heat over the entire surface of the battery. |
| + | [* icon_note] Alternatively, you can use a heat mat at 70 °C (158 °F) with your phone placed screen side down for 10 minutes. |
crwdns2944171:0crwdnd2944171:0crwdnd2944171:0crwdnd2944171:0crwdne2944171:0