crwdns2931529:0crwdnd2931529:0crwdnd2931529:0crwdnd2931529:010crwdnd2931529:0crwdne2931529:0
crwdns2935425:02crwdne2935425:0
crwdns2931653:02crwdne2931653:0

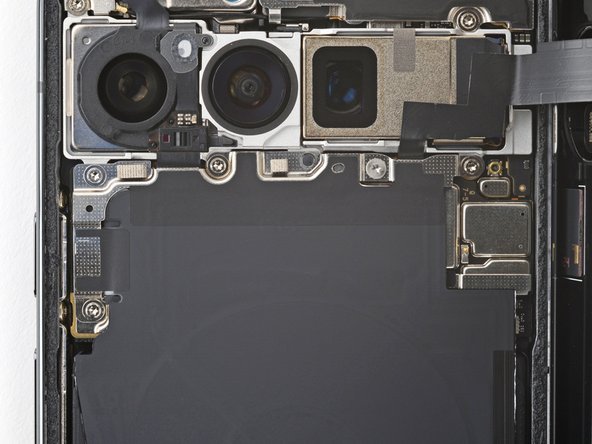


Remove the wireless charging assembly
-
Use a Torx Plus 3IP screwdriver to remove the five screws securing the wireless charging assembly:
-
Four 5.4 mm‑long screws
-
One 1.5 mm‑long screw
crwdns2944171:0crwdnd2944171:0crwdnd2944171:0crwdnd2944171:0crwdne2944171:0