crwdns2933423:0crwdne2933423:0

Google Pixel 9 Pro リアカメラの交換

crwdns2935425:08crwdne2935425:0

crwdns2936315:0crwdne2936315:0
crwdns2936323:0crwdne2936323:0
crwdns2931653:08crwdne2931653:0
Google Pixel 9 Pro Rear Cameras Replacement: crwdns2935265:00crwdnd2935265:01crwdnd2935265:03crwdne2935265:0 Google Pixel 9 Pro Rear Cameras Replacement: crwdns2935265:00crwdnd2935265:02crwdnd2935265:03crwdne2935265:0 Google Pixel 9 Pro Rear Cameras Replacement: crwdns2935265:00crwdnd2935265:03crwdnd2935265:03crwdne2935265:0
  • Be very careful not to touch the camera lenses during this step. If you accidentally do, wipe them with a clean microfiber or lint‑free cloth.

  • If your replacement rear cameras have protective caps or liners, remove them.

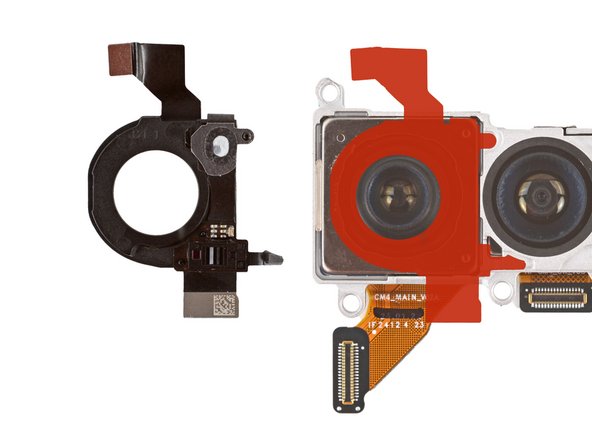
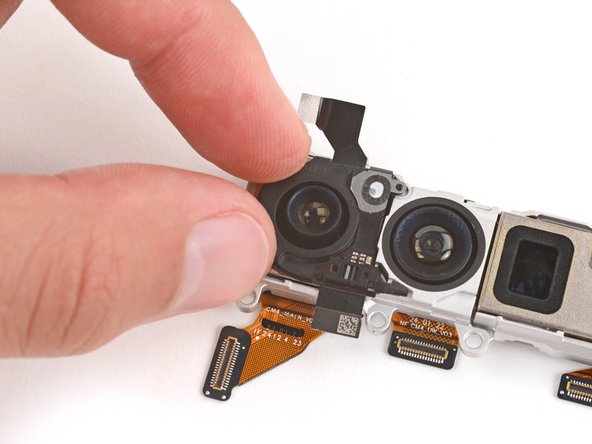
  • Before applying the autofocus sensor to your replacement rear cameras, hold the sensor over your replacement cameras and find its proper orientation.

  • There are cutouts on the left edge of the middle camera that line up with the short protrusions on the right edge of the sensor.

  • Carefully lay the sensor over the rear camera and use your fingers to press it into place, securing it with the adhesive.

この手順では、カメラのレンズに触れないように十分注意してください。誤って触れてしまった場合は、きれいなマイクロファイバーまたは糸くずの出ない布で拭いてください。

交換用リアカメラに保護キャップやライナーがある場合は、取り外してください。

交換用リアカメラにオートフォーカスセンサーを貼り付ける前に、センサーを交換用カメラにかざして、正しい向きを確認します。

センサーを慎重にリアカメラの上に置き、指で押して接着剤で固定します。

crwdns2944171:0crwdnd2944171:0crwdnd2944171:0crwdnd2944171:0crwdne2944171:0