crwdns2933423:0crwdne2933423:0

Microsoft Surface Pro 11 SSD Replacement

crwdns2931529:0crwdnd2931529:0crwdnd2931529:0crwdnd2931529:010crwdnd2931529:0crwdne2931529:0

crwdns2935425:02crwdne2935425:0

crwdns2936315:0crwdne2936315:0
crwdns2936321:0crwdne2936321:0
crwdns2931653:02crwdne2931653:0
Microsoft Surface Pro 11 SSD Replacement, Remove the SSD: crwdns2935265:00crwdnd2935265:01crwdnd2935265:03crwdne2935265:0 Microsoft Surface Pro 11 SSD Replacement, Remove the SSD: crwdns2935265:00crwdnd2935265:02crwdnd2935265:03crwdne2935265:0 Microsoft Surface Pro 11 SSD Replacement, Remove the SSD: crwdns2935265:00crwdnd2935265:03crwdnd2935265:03crwdne2935265:0
Remove the SSD
  • Don't pull up at a sharp angle, or you may damage the SSD and its socket.

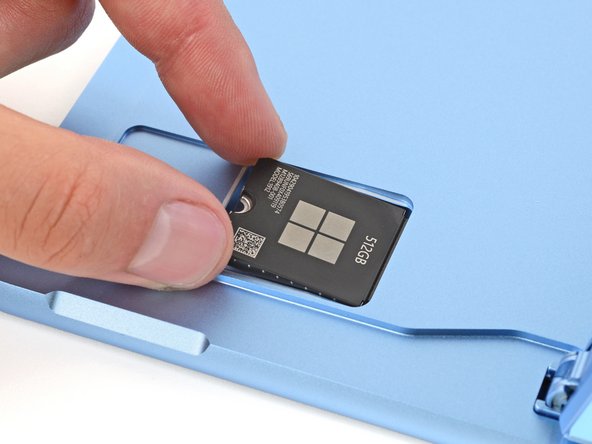
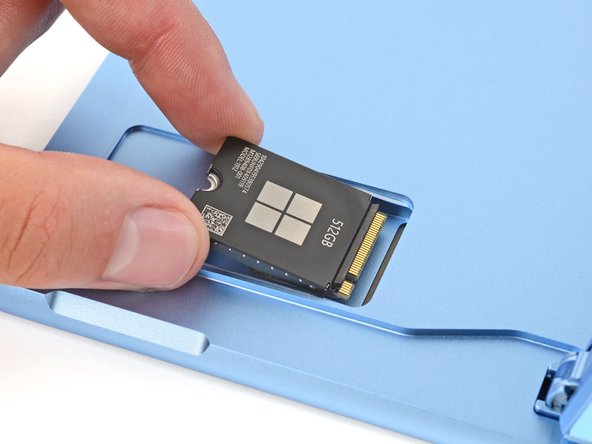
  • Use the flat end of a spudger to gently lift the notched edge of the SSD enough that you can grip the bottom corners with your fingers.

  • Use your fingers or tweezers to pull the SSD straight out of its socket and remove it.

  • During reassembly, getting the SSD fully inserted in its socket can be tricky. If you're having trouble, hold the SSD in place and use the flat end of a spudger to push on the notched edge.

crwdns2935429:0crwdne2935429:0

crwdns2935429:0crwdne2935429:0

crwdns2935429:0crwdne2935429:0

crwdns2935429:0crwdne2935429:0

crwdns2944171:0crwdnd2944171:0crwdnd2944171:0crwdnd2944171:0crwdne2944171:0