crwdns2933423:0crwdne2933423:0

HMD Skyline Screen Replacement

crwdns2931527:0crwdnd2931527:0crwdnd2931527:0crwdnd2931527:0crwdne2931527:0

crwdns2935425:08crwdne2935425:0

crwdns2936315:0crwdne2936315:0
crwdns2936323:0crwdne2936323:0
crwdns2931653:08crwdne2931653:0
HMD Skyline Screen Replacement, Reassembly information: crwdns2935265:00crwdnd2935265:01crwdnd2935265:03crwdne2935265:0 HMD Skyline Screen Replacement, Reassembly information: crwdns2935265:00crwdnd2935265:02crwdnd2935265:03crwdne2935265:0 HMD Skyline Screen Replacement, Reassembly information: crwdns2935265:00crwdnd2935265:03crwdnd2935265:03crwdne2935265:0
Reassembly information
  • During reassembly:

  • Remove any tape or liners from the back of the screen—check the screen cable and front facing camera cutout.

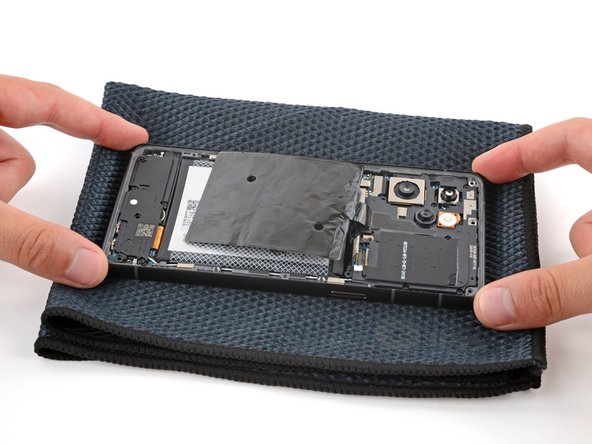
  • Hold the frame in one hand and your replacement screen in the other.

  • Thread the screen cable through its cutout on the front of the frame and press the screen into place so it's flush in the frame.

  • Lay your phone screen side down on a soft cloth, making sure the screen doesn't detach from the frame.

  • Simultaneously press down on all four corners of your phone to fully seat the screen in the frame.

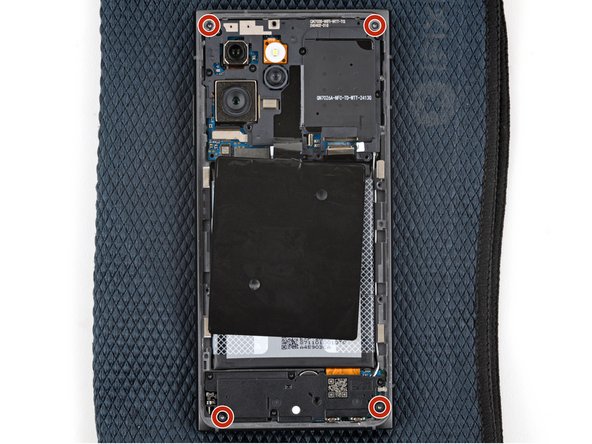
  • Use a T3 Torx screwdriver to install four screen screws in the corners of the frame—this ensures that the screen doesn't detach from the frame during reassembly.

  • If the screws aren't catching, double-check that the screen is fully seated.

crwdns2935429:0crwdne2935429:0

crwdns2935429:0crwdne2935429:0

crwdns2935429:0crwdne2935429:0

crwdns2935429:0crwdne2935429:0

crwdns2935429:0crwdne2935429:0

crwdns2935429:0crwdne2935429:0

crwdns2935429:0crwdne2935429:0

crwdns2935429:0crwdne2935429:0

crwdns2944171:0crwdnd2944171:0crwdnd2944171:0crwdnd2944171:0crwdne2944171:0