crwdns2933423:0crwdne2933423:0

Desmontaje de la amoladora angular Bauker PGA115G1.2

crwdns2936315:0crwdne2936315:0
crwdns2936331:0crwdne2936331:0
crwdns2931653:012crwdne2931653:0
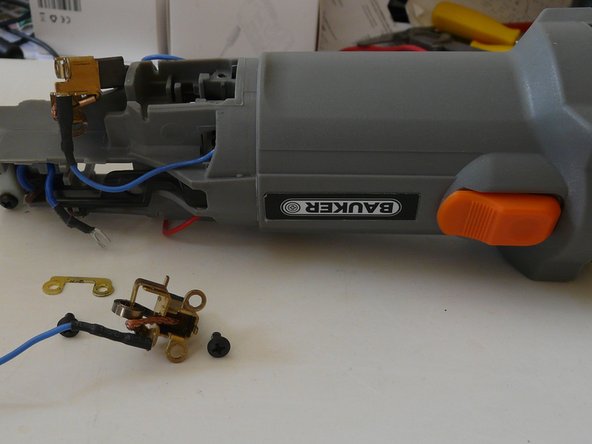
Disassembling Bauker PGA115G1.2 Angle grinder, Remove the brushes: crwdns2935265:00crwdnd2935265:01crwdnd2935265:03crwdne2935265:0 Disassembling Bauker PGA115G1.2 Angle grinder, Remove the brushes: crwdns2935265:00crwdnd2935265:02crwdnd2935265:03crwdne2935265:0 Disassembling Bauker PGA115G1.2 Angle grinder, Remove the brushes: crwdns2935265:00crwdnd2935265:03crwdnd2935265:03crwdne2935265:0
Remove the brushes
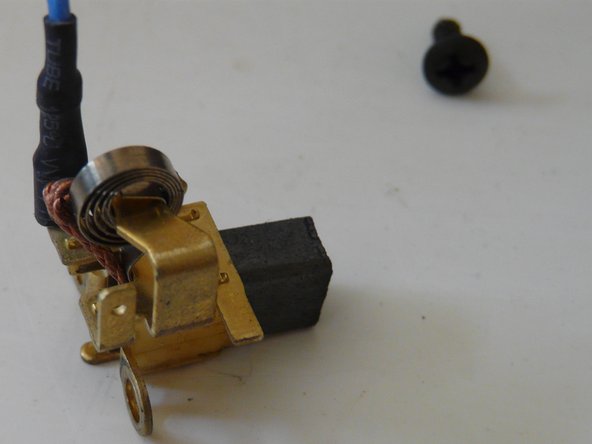
  • The brushes are each held by two PH2 screws: there is a picture in the next step. Unscrew them and carefully remove taking care not to disturb the springs.

  • There is a washer plate with the two screw holes which is best removed to avoid loss. One is shown in the third picture.

  • Obviously it is a good idea to check the brushes and renew if needed.

Las escobillas están sujetas por dos tornillos PH2: hay una imagen en el siguiente paso. Desatorníllalos y retíralos con cuidado, teniendo cuidado de no tocar los resortes.

Hay una placa de arandela con los dos orificios para tornillos que es mejor quitar para evitar perderla. Una se muestra en la tercera imagen.

Obviamente, es una buena idea revisar las escobillas y renovarlas si es necesario.

crwdns2944171:0crwdnd2944171:0crwdnd2944171:0crwdnd2944171:0crwdne2944171:0