crwdns2933423:0crwdne2933423:0

Desmontaje de la amoladora angular Bauker PGA115G1.2

crwdns2936315:0crwdne2936315:0
crwdns2936331:0crwdne2936331:0
crwdns2931653:07crwdne2931653:0
Disassembling Bauker PGA115G1.2 Angle grinder, What is this heatsink?: crwdns2935265:00crwdnd2935265:01crwdnd2935265:03crwdne2935265:0 Disassembling Bauker PGA115G1.2 Angle grinder, What is this heatsink?: crwdns2935265:00crwdnd2935265:02crwdnd2935265:03crwdne2935265:0 Disassembling Bauker PGA115G1.2 Angle grinder, What is this heatsink?: crwdns2935265:00crwdnd2935265:03crwdnd2935265:03crwdne2935265:0
What is this heatsink?
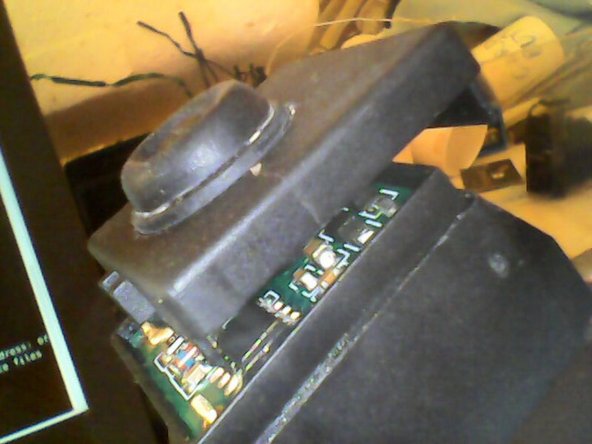
  • The switch with the push button that engages with the black rod is shown here. One of the brush connections can also be seen in the background in this picture.

  • The heatsink is clear. I unscrewed the copper plate and found some white heatsink compound below against what may have been an aluminium plate

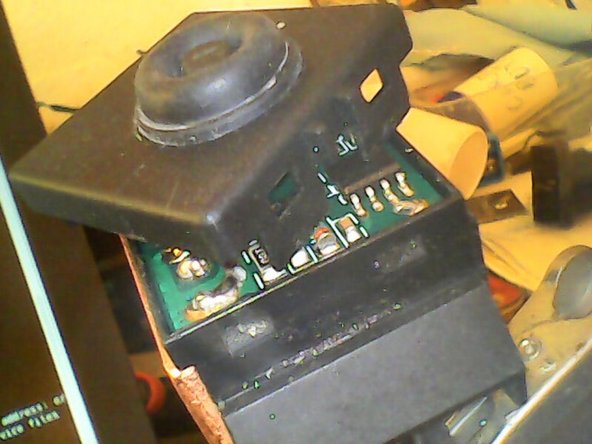
  • I had not encountered a heatsink built into a switch before, so I tried to take the switch apart. I could remove the top cover, but the flexible dome resisted all attempts to remove it, but it is possible to see a circuit board inside. The fuzzy pictures through the crack were taken with a boroscope.

  • The switch seemed to be open circuit on the neutral side, so I looked for replacements. This was before I realised that it was an active circuit. The only candidates that I found seemed to be ordinary passive components..

Aquí se muestra el interruptor con el botón pulsador que se acopla a la varilla negra. También se puede ver una de las conexiones de las escobillas en el fondo de esta imagen.

El disipador de calor está limpio. Desatornillé la placa de cobre y encontré un poco de compuesto disipador de calor blanco debajo contra lo que podría haber sido una placa de aluminio.

Nunca antes había visto un disipador de calor integrado en un interruptor, así que intenté desarmar el interruptor. Pude quitar la cubierta superior, pero la cúpula flexible resistió todos los intentos de quitarla, pero es posible ver una placa de circuito en el interior. Las imágenes borrosas a través de la grieta se tomaron con un boroscopio.

El interruptor parecía tener un circuito abierto en el lado neutro, así que busqué reemplazos. Esto fue antes de darme cuenta de que era un circuito activo. Los únicos candidatos que encontré parecían ser componentes pasivos comunes.

crwdns2944171:0crwdnd2944171:0crwdnd2944171:0crwdnd2944171:0crwdne2944171:0