crwdns2931529:0crwdnd2931529:0crwdnd2931529:0crwdnd2931529:02crwdnd2931529:0crwdne2931529:0
crwdns2935425:06crwdne2935425:0
crwdns2931653:06crwdne2931653:0

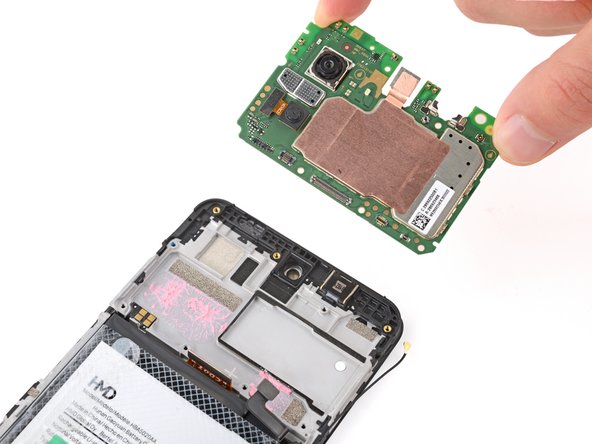


Remove the motherboard
-
Lift and remove the motherboard.
-
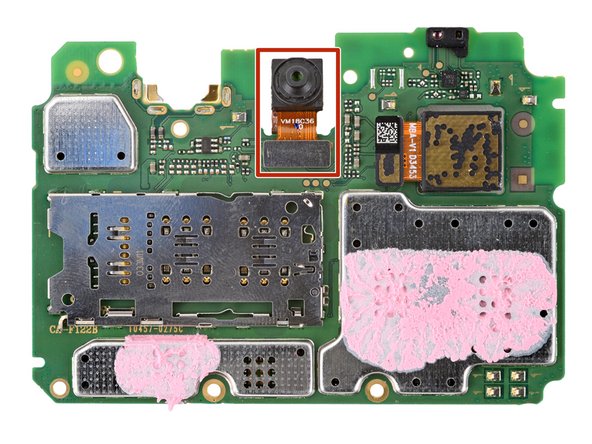
The front camera may have disconnected from the bottom of the board during removal. If it did, reconnect its press connector.
-
Make sure the two press connectors on the bottom edge and the antenna cable on the right edge are out of the way so they don't get trapped underneath the board.
-
Lower the board into its recess and press down on the edges to clip it into place.
crwdns2944171:0crwdnd2944171:0crwdnd2944171:0crwdnd2944171:0crwdne2944171:0