crwdns2933423:0crwdne2933423:0

マザーボードの接続の外し方

crwdns2931527:0crwdnd2931527:0crwdnd2931527:0crwdnd2931527:0crwdne2931527:0

crwdns2935425:013crwdne2935425:0

crwdns2936315:0crwdne2936315:0
crwdns2936323:0crwdne2936323:0
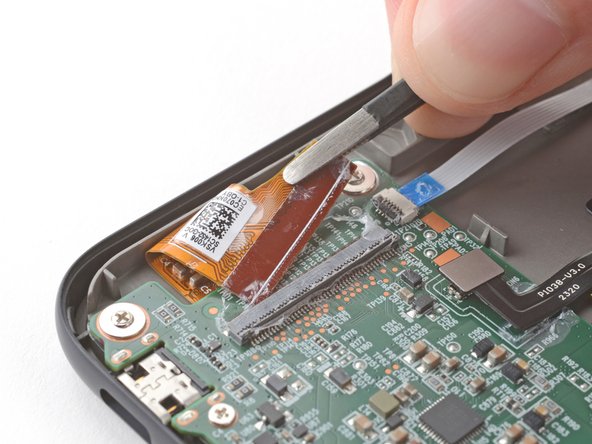
crwdns2931653:013crwdne2931653:0
Motherboard Disconnection (Screen): crwdns2935265:00crwdnd2935265:01crwdnd2935265:03crwdne2935265:0 Motherboard Disconnection (Screen): crwdns2935265:00crwdnd2935265:02crwdnd2935265:03crwdne2935265:0 Motherboard Disconnection (Screen): crwdns2935265:00crwdnd2935265:03crwdnd2935265:03crwdne2935265:0
  • Repeat the previous step for the other corner until the entire cable is disconnected.

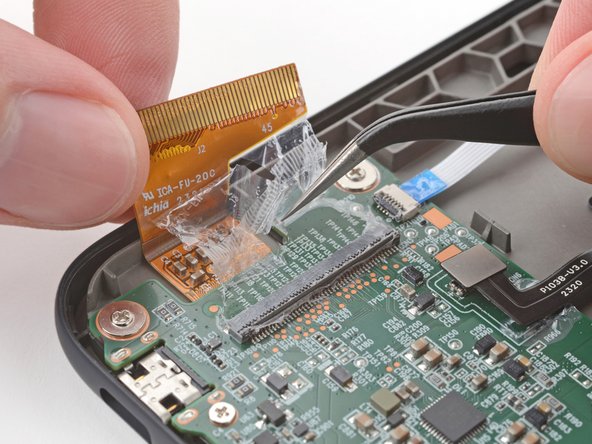
  • Lift up the cable and peel off any remaining coating holding it to the motherboard.

  • During reassembly:

  • Inspect the ends of the cable and the ZIF connectors for any remaining coating that could prevent a good connection.

  • Peel off the coating, heating the cable and the ZIF connector when the coating becomes too brittle.

  • It doesn't have to look pretty! You just need to remove enough coating to have the cable sit properly in the connector.

ケーブル全体が外れるまで、片側のコーナーも同じ手順を繰り返します。

ケーブルを持ち上げて、マザーボードに残っているコーティングをはがします。

再組み立ての際

ケーブルの端とZIFコネクタに、良好な接続を妨げるコーティングが残っていないか点検します。

コーティングがもろくなりすぎたら、ケーブルとZIFコネクターを加熱しながら、コーティングをはがします。

見た目がきれいである必要はありません!ケーブルがコネクタにきちんと装着するように、十分な量のコーティングを剥がせば十分です。

crwdns2944171:0crwdnd2944171:0crwdnd2944171:0crwdnd2944171:0crwdne2944171:0