crwdns2933423:0crwdne2933423:0

Motherboard Disconnection (Screen)

crwdns2862623:0crwdne2862623:0
crwdns2942641:0crwdne2942641:0

crwdns2942213:0crwdne2942213:0

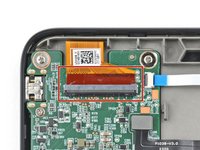
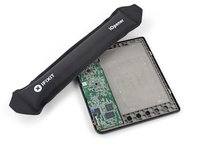
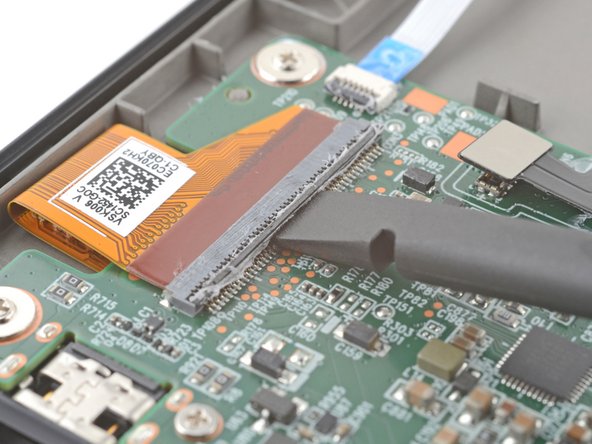
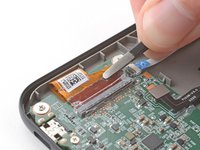
  1. Motherboard Disconnection (Screen), Soften the digitizer cables coating: crwdns2935265:01crwdnd2935265:01crwdnd2935265:02crwdne2935265:0 Motherboard Disconnection (Screen), Soften the digitizer cables coating: crwdns2935265:01crwdnd2935265:02crwdnd2935265:02crwdne2935265:0
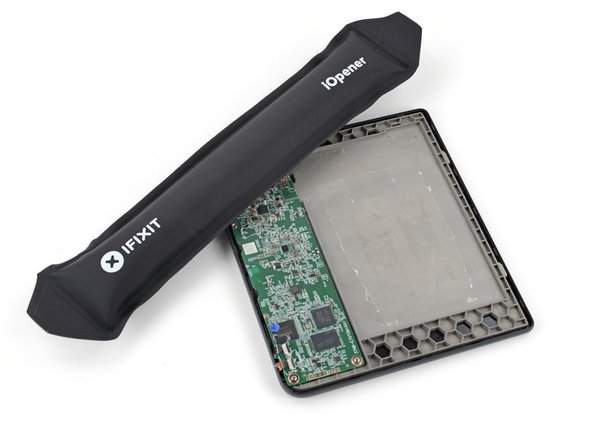
    • Heat an iOpener and lay it on the digitizer cable ZIF connectors for 90 seconds to soften the coating.

    • Alternatively, you can use a hair dryer or a heat gun for 30 seconds.

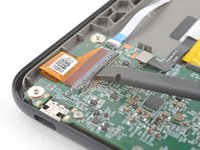
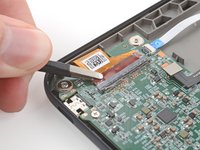
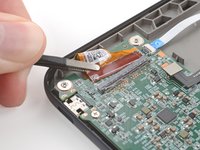
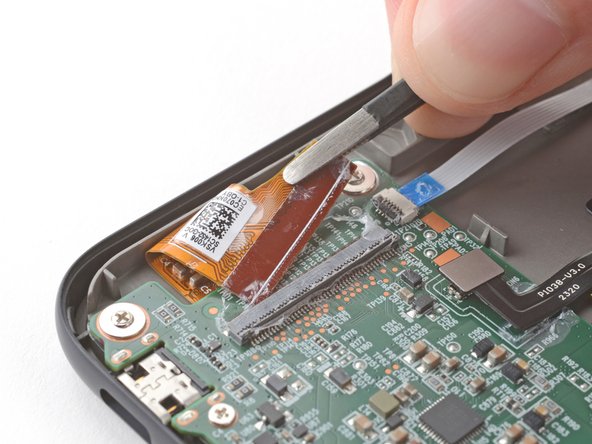
  2. Motherboard Disconnection (Screen), Remove the coating: crwdns2935265:02crwdnd2935265:01crwdnd2935265:03crwdne2935265:0 Motherboard Disconnection (Screen), Remove the coating: crwdns2935265:02crwdnd2935265:02crwdnd2935265:03crwdne2935265:0 Motherboard Disconnection (Screen), Remove the coating: crwdns2935265:02crwdnd2935265:03crwdnd2935265:03crwdne2935265:0
    crwdns2935267:0crwdne2935267:0
    Tweezers
    $4.99
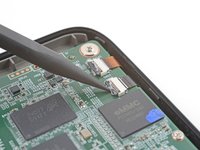
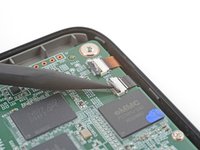
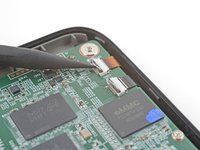
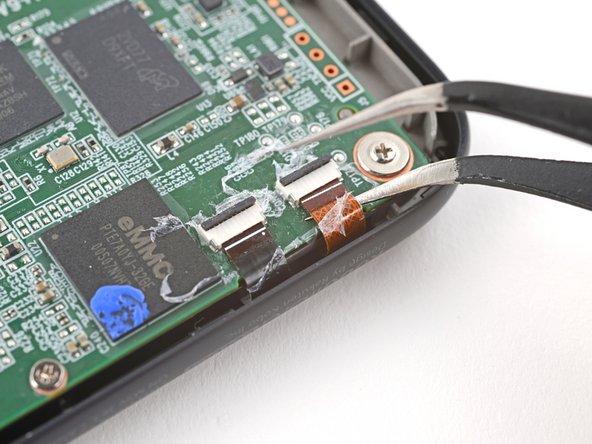
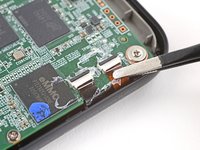
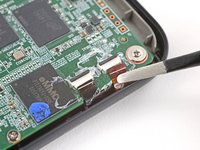
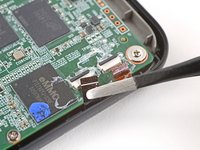
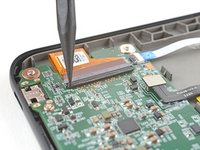
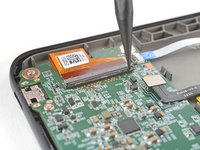
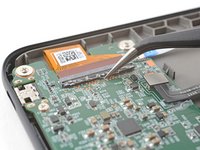
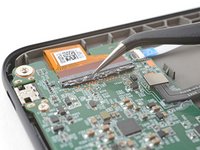
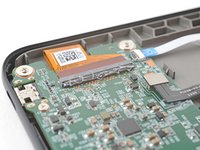
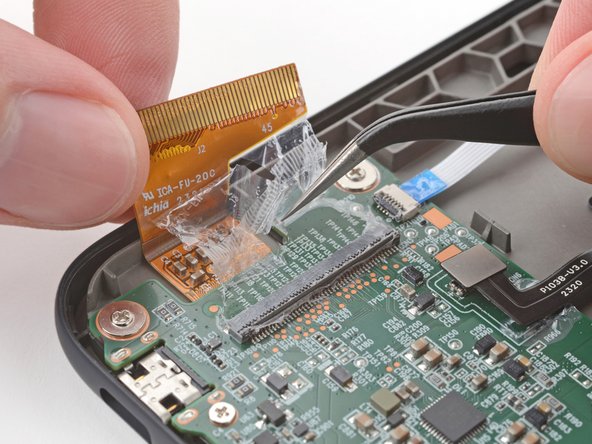
    • Use the tip of a spudger to scrape the coating along the ZIF connectors' black locking tabs—enough so you can grab clumps of it with pointed tweezers.

    • Use pointed tweezers to peel off the coating around the black locking tabs and their hinges on the ZIF connector.

    • If the coating becomes too brittle and hard to peel off, reheat the connectors and try again.

    • This is a meticulous process! Failure to remove enough of the coating could damage the locking tab during disconnection, so take your time!

  3. Motherboard Disconnection (Screen), Disconnect the digitizer cables: crwdns2935265:03crwdnd2935265:01crwdnd2935265:03crwdne2935265:0 Motherboard Disconnection (Screen), Disconnect the digitizer cables: crwdns2935265:03crwdnd2935265:02crwdnd2935265:03crwdne2935265:0 Motherboard Disconnection (Screen), Disconnect the digitizer cables: crwdns2935265:03crwdnd2935265:03crwdnd2935265:03crwdne2935265:0
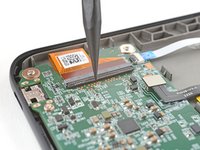
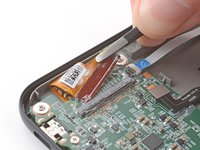
    • Use the point of a spudger to lift up the locking tabs on the ZIF connectors.

    • The locking tabs should be nearly vertical when unlocked. If not, remove more coating until the tabs can move freely.

  4. Motherboard Disconnection (Screen), Reheat the digitizer cables: crwdns2935265:04crwdnd2935265:01crwdnd2935265:01crwdne2935265:0
    • Apply a heated iOpener to the digitizer cable ZIF connectors for 90 seconds to soften the coating.

    • Alternatively, you can use a hair dryer or a heat gun for 30 seconds.

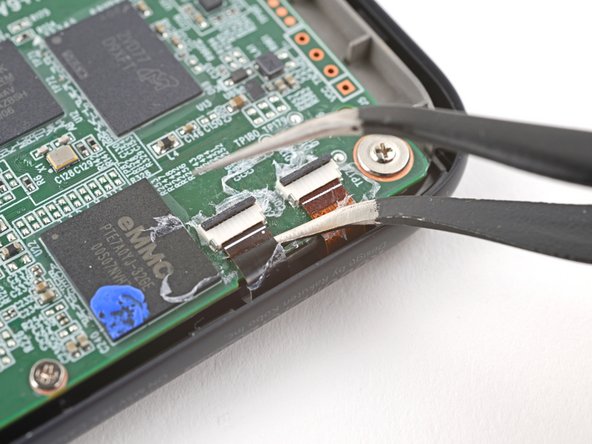
  5. Motherboard Disconnection (Screen): crwdns2935265:05crwdnd2935265:01crwdnd2935265:03crwdne2935265:0 Motherboard Disconnection (Screen): crwdns2935265:05crwdnd2935265:02crwdnd2935265:03crwdne2935265:0 Motherboard Disconnection (Screen): crwdns2935265:05crwdnd2935265:03crwdnd2935265:03crwdne2935265:0
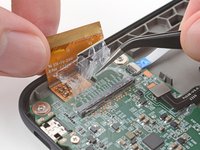
    • Slide one arm of a pair of pointed tweezers underneath the cables to separate the coating securing them to the motherboard.

    • You only need to separate enough coating so you can grip the cables with blunt nose tweezers.

  6. Motherboard Disconnection (Screen): crwdns2935265:06crwdnd2935265:01crwdnd2935265:03crwdne2935265:0 Motherboard Disconnection (Screen): crwdns2935265:06crwdnd2935265:02crwdnd2935265:03crwdne2935265:0 Motherboard Disconnection (Screen): crwdns2935265:06crwdnd2935265:03crwdnd2935265:03crwdne2935265:0
    • Because of the awkward angle, this step requires some patience to avoid tearing the cables. Work slowly and apply heat regularly.

    • Use blunt nose tweezers to pull the cables away from their ZIF connectors slowly and steadily at a level angle to separate the coating.

    • Gripping the tweezers closer to the tip can help get a tighter hold on the cables.

    • Keep pulling on the cables until they're completely disconnected.

    • During reassembly:

    • Inspect the ends of the cables and the ZIF connectors for any remaining coating that could prevent a good connection.

    • Peel off the coating, heating the cable and the ZIF connectors when the coating becomes too brittle.

    • It doesn't have to look pretty! You just need to remove enough coating to have the cables sit properly in their connectors.

  7. Motherboard Disconnection (Screen), Soften the display cable coating: crwdns2935265:07crwdnd2935265:01crwdnd2935265:02crwdne2935265:0 Motherboard Disconnection (Screen), Soften the display cable coating: crwdns2935265:07crwdnd2935265:02crwdnd2935265:02crwdne2935265:0
    • Apply a heated iOpener to the display cable ZIF connector for 90 seconds to soften the coating.

    • Alternatively, you can use a hair dryer or a heat gun for 30 seconds.

  8. Motherboard Disconnection (Screen), Remove the coating: crwdns2935265:08crwdnd2935265:01crwdnd2935265:03crwdne2935265:0 Motherboard Disconnection (Screen), Remove the coating: crwdns2935265:08crwdnd2935265:02crwdnd2935265:03crwdne2935265:0 Motherboard Disconnection (Screen), Remove the coating: crwdns2935265:08crwdnd2935265:03crwdnd2935265:03crwdne2935265:0
    • The display cable ZIF connector is larger and requires a different procedure to disconnect properly.

    • Use the tip of a spudger to scrape the coating along the ZIF connector's black locking tab—enough so you can grab clumps of it with pointed tweezers.

  9. Motherboard Disconnection (Screen): crwdns2935265:09crwdnd2935265:01crwdnd2935265:03crwdne2935265:0 Motherboard Disconnection (Screen): crwdns2935265:09crwdnd2935265:02crwdnd2935265:03crwdne2935265:0 Motherboard Disconnection (Screen): crwdns2935265:09crwdnd2935265:03crwdnd2935265:03crwdne2935265:0
    • Use pointed tweezers to peel off the coating around the locking tab and its hinge on the ZIF connector.

    • If the coating becomes too brittle and hard to peel off, reheat the connector and try again.

    • This is a meticulous process! Failure to remove enough of the coating could damage the locking tab during disconnection, so take your time!

  10. Motherboard Disconnection (Screen): crwdns2935265:010crwdnd2935265:01crwdnd2935265:02crwdne2935265:0 Motherboard Disconnection (Screen): crwdns2935265:010crwdnd2935265:02crwdnd2935265:02crwdne2935265:0
    • Use the flat end of a spudger to gently pry along the length of the locking tab to separate any remaining coating.

    • Don't pry hard at the corners of the locking tab to avoid snapping it.

  11. Motherboard Disconnection (Screen), Disconnect the display cable: crwdns2935265:011crwdnd2935265:01crwdnd2935265:02crwdne2935265:0 Motherboard Disconnection (Screen), Disconnect the display cable: crwdns2935265:011crwdnd2935265:02crwdnd2935265:02crwdne2935265:0
    • Insert the flat end of a spudger under the middle of the locking tab and lift to unlock it.

    • The locking tab should be nearly vertical when unlocked. If not, remove more coating until the tab can move freely.

  12. Motherboard Disconnection (Screen): crwdns2935265:012crwdnd2935265:01crwdnd2935265:02crwdne2935265:0 Motherboard Disconnection (Screen): crwdns2935265:012crwdnd2935265:02crwdnd2935265:02crwdne2935265:0
    • Use blunt nose tweezers to grip the corner of the display cable closest to the charging port.

    • Pull the cable away from the ZIF connector slowly and steadily at a level angle to separate the coating at the corner.

    • If you're having trouble, try rocking the cable side-to-side while pulling.

    • Gripping the tweezers closer to the tip can help with getting a tighter hold on the cable.

  13. Motherboard Disconnection (Screen): crwdns2935265:013crwdnd2935265:01crwdnd2935265:03crwdne2935265:0 Motherboard Disconnection (Screen): crwdns2935265:013crwdnd2935265:02crwdnd2935265:03crwdne2935265:0 Motherboard Disconnection (Screen): crwdns2935265:013crwdnd2935265:03crwdnd2935265:03crwdne2935265:0
    • Repeat the previous step for the other corner until the entire cable is disconnected.

    • Lift up the cable and peel off any remaining coating holding it to the motherboard.

    • During reassembly:

    • Inspect the ends of the cable and the ZIF connectors for any remaining coating that could prevent a good connection.

    • Peel off the coating, heating the cable and the ZIF connector when the coating becomes too brittle.

    • It doesn't have to look pretty! You just need to remove enough coating to have the cable sit properly in the connector.

crwdns2915888:0crwdne2915888:0

To reassemble your device, follow these instructions in reverse order.

Alex Diaz-Kokaisl

crwdns2935283:001/16/22crwdne2935283:0

168,095 crwdns2915208:0crwdne2915208:0

crwdns2935297:0769crwdne2935297:0

crwdns2915084:0crwdne2915084:0

iFixit crwdns2935289:0iFixitcrwdne2935289:0

Staff

crwdns2931471:0120crwdne2931471:0

crwdns2935297:020,889crwdne2935297:0

crwdns2947412:00crwdne2947412:0

crwdns2917038:0crwdne2917038:0

crwdns2936625:0crwdne2936625:0:

crwdns2936751:024crwdne2936751:0 0

crwdns2936753:07crwdne2936753:0 9

crwdns2936753:030crwdne2936753:0 15

crwdns2942667:0crwdne2942667:0 61