crwdns2933423:0crwdne2933423:0

Hoe vervang je een snelvetersysteem met een stopper?

crwdns2936315:0crwdne2936315:0
crwdns2936313:0crwdne2936313:0
crwdns2931653:08crwdne2931653:0
How to Replace a Speedlace With a Stopper, Reattach the lace to the patch: crwdns2935265:00crwdnd2935265:01crwdnd2935265:03crwdne2935265:0 How to Replace a Speedlace With a Stopper, Reattach the lace to the patch: crwdns2935265:00crwdnd2935265:02crwdnd2935265:03crwdne2935265:0 How to Replace a Speedlace With a Stopper, Reattach the lace to the patch: crwdns2935265:00crwdnd2935265:03crwdnd2935265:03crwdne2935265:0
Reattach the lace to the patch
  • In our example, the original speedlace was connected at the ends with a fabric pulling patch. We will re-attach it in now, using the sewing machine.

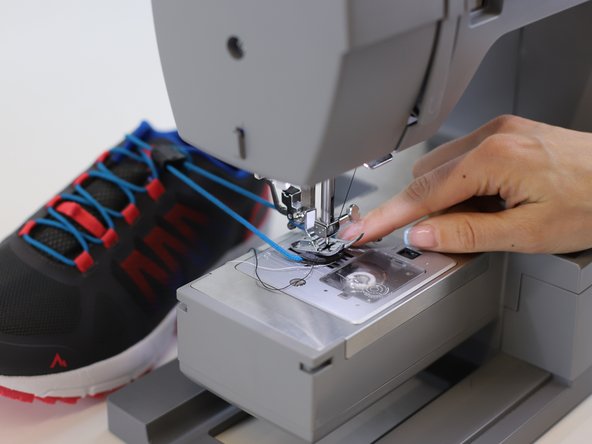
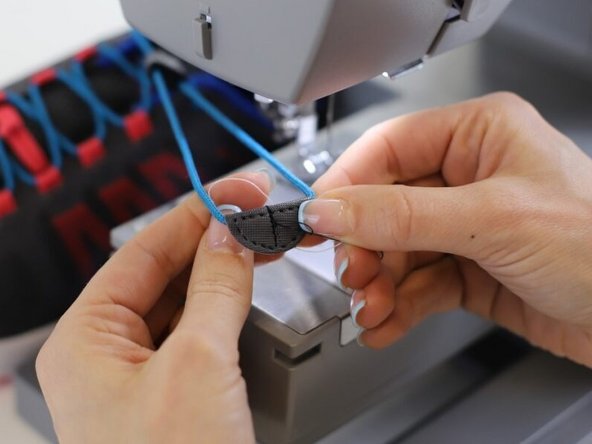
  • Wrap the patch around the lace endings and place it onto the sewing machine. The open side (red circle) should point towards you.

  • Push lace endings against each other in the middle of the patch, so that there is no gap.

  • Sew along the middle of the patch with a single straight stitch. The goal is to sew through both laces at the same time, and "tack" everything in place for the next step.

In ons voorbeeld was de oorspronkelijke snelveter aan de uiteinden verbonden met een stoffen trekflap. We gaan deze nu opnieuw bevestigen met de naaimachine.

Wikkel de stoffen flap om de uiteinden van de veter en plaats deze onder de naaimachine. De open kant (rode cirkel) moet naar je toe wijzen.

Duw de veteruiteinden tegen elkaar in het midden van de stoffen flap, zodat er geen opening tussen zit.

Naai een rechte steek langs het midden van de stoffen flap. Het doel is om beide veters tegelijk vast te naaien en alles op zijn plaats te zetten voor de volgende stap.

crwdns2944171:0crwdnd2944171:0crwdnd2944171:0crwdnd2944171:0crwdne2944171:0